Granting resource link permissions
Follow these steps to grant AWS Lake Formation permissions on one or more resource links
to a principal in your AWS account.
After you create a resource link, only you can view and access it. (This assumes that
Use only IAM access control for new tables in this database is not
enabled for the database.) To permit other principals in your account to access the
resource link, grant at least the DESCRIBE permission.
Granting permissions on a resource link doesn't grant permissions on the target
(linked) database or table. You must grant permissions on the target separately.
You can grant permissions by using the Lake Formation console, the API, or the AWS Command Line Interface (AWS CLI).
- console
-
To grant resource link permissions using the Lake Formation console
-
Do one of the following:
-
For database resource links, follow the steps in Granting database permissions using the
named resource method. to do the following:
-
Select the resource link from the databases list under Data Catalog,
Databases.
Choose Grant to open the
Grant permissions page.
-
Specify principals to grant permissions.
-
The Catalogs and Databases fields are populated.
-
For table resource links, follow the steps in Granting table permissions using the named resource method to do the following:
-
Select the resource link from the tables list under Data Catalog,
Tables.
-
Open the Grant permissions page.
-
Specify principals.
-
The Catalogs, Databases ,
Tables fields are populated.
-
Specify principals.
-
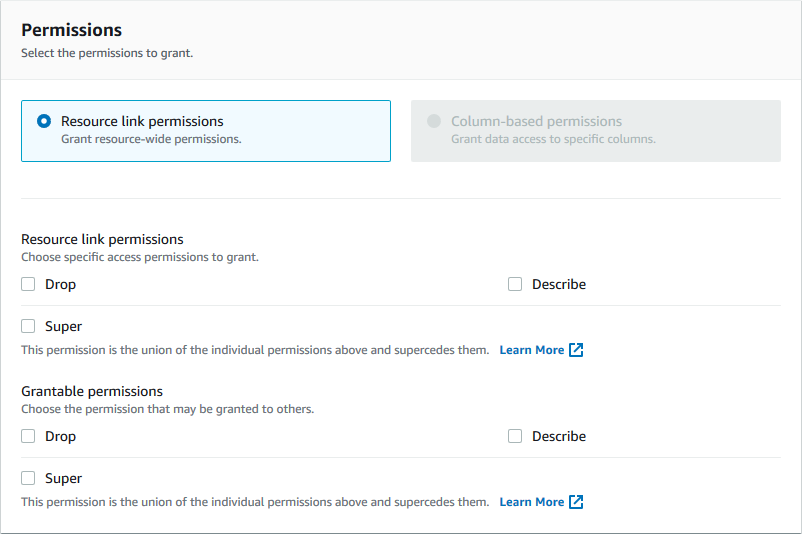
Under Permissions, select the permissions to grant.
Optionally, select grantable permissions.
-
Choose Grant.
- AWS CLI
-
To grant resource link permissions using AWS CLI
