Deploy models for real-time inference
Real-time inference is ideal for inference workloads where you have real-time, interactive, low latency requirements. This section shows how you can use real-time inferencing to obtain predictions interactively from your model.
To deploy the model that produced the best validation metric in an Autopilot experiment, you have several options. For example, when using Autopilot in SageMaker Studio Classic, you can deploy the model automatically or manually. You can also use SageMaker APIs to manually deploy an Autopilot model.
The following tabs show three options for deploying your model. These instructions assume that you have already created a model in Autopilot. If you don't have a model, see Create Regression or Classification Jobs for Tabular Data Using the AutoML API. To see examples for each option, open each tab.
The Autopilot UI contains helpful dropdown menus, toggles, tooltips, and more to help you navigate through model deployment. You can deploy using either one of the following procedures: Automatic or Manual.
-
Automatic Deployment: To automatically deploy the best model from an Autopilot experiment to an endpoint
-
Create an experiment in SageMaker Studio Classic.
-
Toggle the Auto deploy value to Yes.
Note
Automatic deployment will fail if either the default resource quota or your customer quota for endpoint instances in a Region is too limited. In hyperparameter optimization (HPO) mode, you are required to have at least two ml.m5.2xlarge instances. In ensembling mode, you are required to have at least one ml.m5.12xlarge instance. If you encounter a failure related to quotas, you can request a service limit increase for SageMaker AI endpoint instances.
-
-
Manual Deployment: To manually deploy the best model from an Autopilot experiment to an endpoint
-
Create an experiment in SageMaker Studio Classic.
-
Toggle the Auto deploy value to No.
-
Select the model that you want to deploy under Model name.
-
Select the orange Deployment and advanced settings button located on the right of the leaderboard. This opens a new tab.
-
Configure the endpoint name, instance type, and other optional information.
-
Select the orange Deploy model to deploy to an endpoint.
-
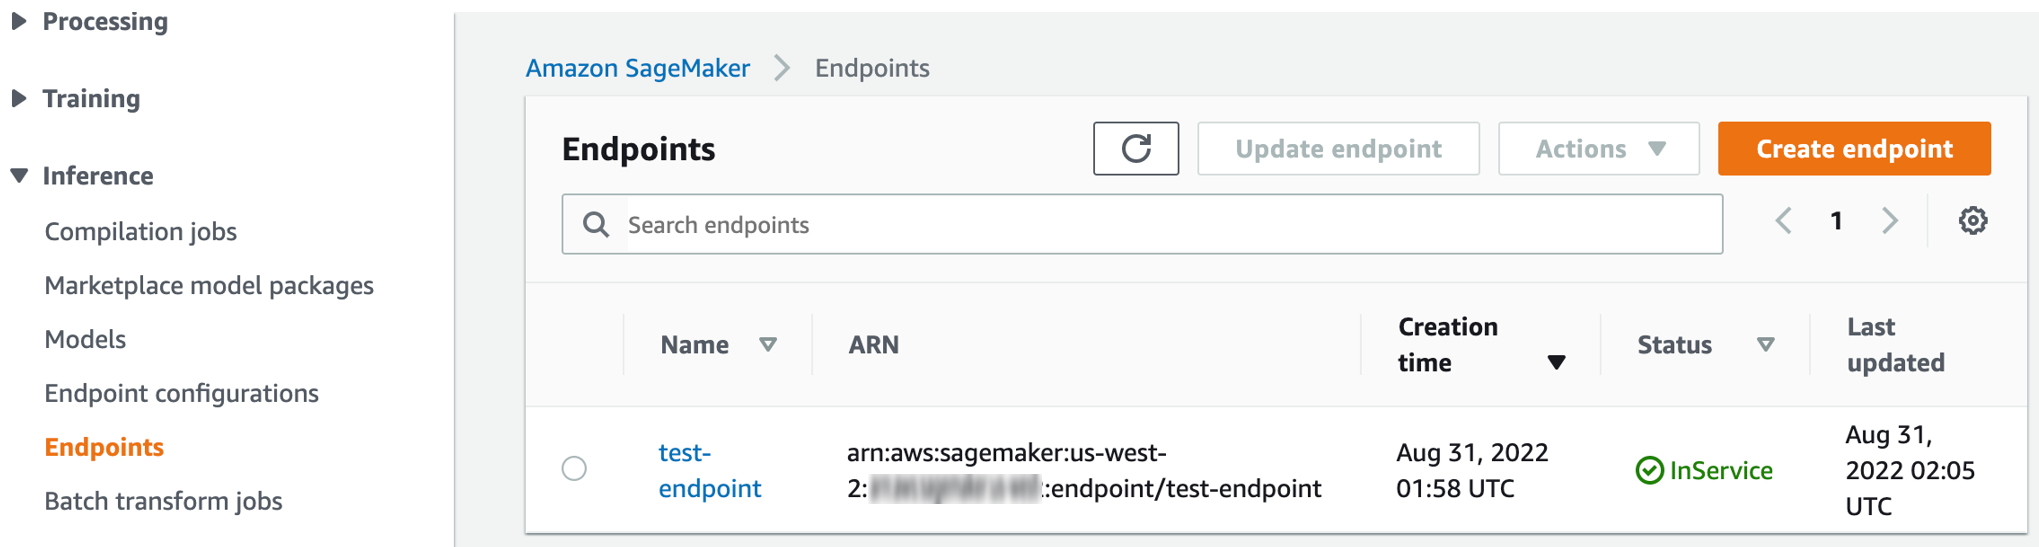
Check the progress of the endpoint creation process in the https://console.aws.amazon.com/sagemaker/
by navigating to the Endpoints section. That section is located in the Inference dropdown menu in the navigation panel. -
After the endpoint status changes from Creating to InService, as shown below, return to Studio Classic and invoke the endpoint.
-
You can also obtain real-time inference by deploying your model using API calls. This section shows the five steps of this process using AWS Command Line Interface (AWS CLI) code snippets.
For complete code examples for both AWS CLI commands and AWS SDK for Python (boto3), open the tabs directly following these steps.
-
Obtain candidate definitions
Obtain the candidate container definitions from InferenceContainers. These candidate definitions are used to create a SageMaker AI model.
The following example uses the DescribeAutoMLJob API to obtain candidate definitions for the best model candidate. See the following AWS CLI command as an example.
aws sagemaker describe-auto-ml-job --auto-ml-job-name<job-name>--region<region> -
List candidates
The following example uses the ListCandidatesForAutoMLJob API to list all candidates. See the following AWS CLI command as an example.
aws sagemaker list-candidates-for-auto-ml-job --auto-ml-job-name<job-name>--region<region> -
Create a SageMaker AI model
Use the container definitions from the previous steps to create a SageMaker AI model by using the CreateModel API. See the following AWS CLI command as an example.
aws sagemaker create-model --model-name '<your-custom-model-name>' \ --containers ['<container-definition1>,<container-definition2>,<container-definition3>]' \ --execution-role-arn '<execution-role-arn>' --region '<region> -
Create an endpoint configuration
The following example uses the CreateEndpointConfig API to create an endpoint configuration. See the following AWS CLI command as an example.
aws sagemaker create-endpoint-config --endpoint-config-name '<your-custom-endpoint-config-name>' \ --production-variants '<list-of-production-variants>' \ --region '<region>' -
Create the endpoint
The following AWS CLI example uses the CreateEndpoint API to create the endpoint.
aws sagemaker create-endpoint --endpoint-name '<your-custom-endpoint-name>' \
                    --endpoint-config-name '<endpoint-config-name-you-just-created>' \
                    --region '<region>'
Check the progress of your endpoint deployment by using the DescribeEndpoint API. See the following AWS CLI command as an example.
aws sagemaker describe-endpoint —endpoint-name '<endpoint-name>' —region<region>After the
EndpointStatuschanges toInService, the endpoint is ready to use for real-time inference. -
Invoke the endpoint
The following command structure invokes the endpoint for real-time inferencing.
aws sagemaker invoke-endpoint --endpoint-name '<endpoint-name>' \ --region '<region>' --body '<your-data>' [--content-type] '<content-type>'<outfile>
The following tabs contain complete code examples for deploying a model with AWS SDK for Python (boto3) or the AWS CLI.
You can deploy an Autopilot model from a different account than the original account that a model was generated in. To implement cross-account model deployment, this section shows how to do the following:
-
Grant permission to the deploying account
To assume the role in the generating account, you must grant permission to the deploying account. This allows the deploying account to describe Autopilot jobs in the generating account.
The following example uses a generating account with a trusted
sagemaker-roleentity. The example shows how to give a deploying account with the ID 111122223333 permission to assume the role of the generating account."Statement": [ { "Effect": "Allow", "Principal": { "Service": [ "sagemaker.amazonaws.com" ], "AWS": [ "111122223333"] }, "Action": "sts:AssumeRole" }The new account with the ID 111122223333 can now assume the role for the generating account.
Next, call the
DescribeAutoMLJobAPI from the deploying account to obtain a description of the job created by the generating account.The following code example describes the model from the deploying account.
import sagemaker import boto3 session = sagemaker.session.Session() sts_client = boto3.client('sts') sts_client.assume_role role = 'arn:aws:iam::111122223333:role/sagemaker-role' role_session_name = "role-session-name" _assumed_role = sts_client.assume_role(RoleArn=role, RoleSessionName=role_session_name) credentials = _assumed_role["Credentials"] access_key = credentials["AccessKeyId"] secret_key = credentials["SecretAccessKey"] session_token = credentials["SessionToken"] session = boto3.session.Session() sm_client = session.client('sagemaker', region_name='us-west-2', aws_access_key_id=access_key, aws_secret_access_key=secret_key, aws_session_token=session_token) # now you can call describe automl job created in account A job_name = "test-job" response= sm_client.describe_auto_ml_job(AutoMLJobName=job_name) -
Grant access to the deploying account to the model artifacts in the generating account.
The deploying account only needs access to the model artifacts in the generating account to deploy it. These are located in the S3OutputPath that was specified in the original
CreateAutoMLJobAPI call during model generation.To give the deploying account access to the model artifacts, choose one of the following options:
-
Give access
to the ModelDataUrlfrom the generating account to the deploying account.Next, you need to give the deploying account permission to assume the role. follow the real-time inferencing steps to deploy.
-
Copy model artifacts
from the generating account's original S3OutputPath to the generating account. To grant access to the model artifacts, you must define a
best_candidatemodel and reassign model containers to the new account.The following example shows how to define a
best_candidatemodel and reassign theModelDataUrl.best_candidate = automl.describe_auto_ml_job()['BestCandidate'] # reassigning ModelDataUrl for best_candidate containers below new_model_locations = ['new-container-1-ModelDataUrl', 'new-container-2-ModelDataUrl', 'new-container-3-ModelDataUrl'] new_model_locations_index = 0 for container in best_candidate['InferenceContainers']: container['ModelDataUrl'] = new_model_locations[new_model_locations_index++]After this assignment of containers, follow the steps in Deploy using SageMaker APIs to deploy.
-
To build a payload in real-time inferencing, see the notebook example to
define a test payload
