Enable data streaming for your Amazon Connect instance
You can export contact records and agent events from Amazon Connect and perform real-time analysis on contacts. Data streaming sends data to Amazon Kinesis.
To enable data streaming for your instance
-
Open the Amazon Connect console at https://console.aws.amazon.com/connect/
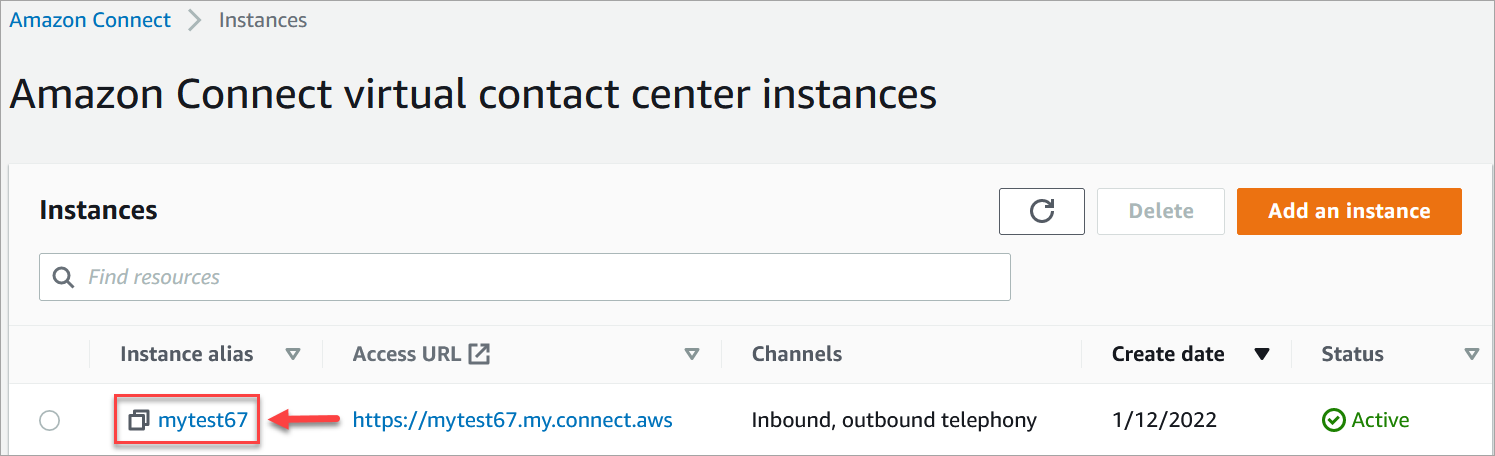
. On the instances page, choose the instance alias. The instance alias is also your instance name, which appears in your Amazon Connect URL. The following image shows the Amazon Connect virtual contact center instances page, with a box around the instance alias.
-
In the navigation pane, choose Data streaming.
-
Choose Enable data streaming.
-
For Contact records, do one of the following:
-
Choose Kinesis Firehose and select an existing delivery stream, or choose Create a new Kinesis firehose to open the Kinesis Firehose console and create the delivery stream. For more information, see Creating an Amazon Data Firehose Delivery Stream.
-
Choose Kinesis Stream and select an existing stream, or choose Create a Kinesis stream to open the Kinesis console and create the stream. For more information, see Creating and Managing Streams.
-
-
For Agent Events, select an existing Kinesis stream or choose Create a new Kinesis stream to open the Kinesis console and create the stream.
-
Choose Save.
Use server-side encryption for the Kinesis stream
Amazon Connect supports streaming to Amazon Kinesis Data Streams and Firehose streams that have server-side encryption with a customer managed key enabled. For a general overview of this feature, see What Is Server-Side Encryption for Kinesis Data Streams?
To stream to Kinesis Data Streams, you need to grant your Amazon Connect instance permission to use a customer managed key. For details on the permissions needed for KMS keys, see Permissions to Use User-Generated KMS Master Keys. (Amazon Connect acts as the Kinesis stream producer that is described in that topic.)
When Amazon Connect puts records into your Kinesis Data Streams, it uses the service-linked role of the instance for authorization. This role needs permission to use the KMS key that encrypts the data stream. To assign permissions to the role, perform the following steps to update the key policy of that KMS key.
Note
To avoid missing data, update the permission of the KMS key before using a KMS key with Amazon Connect streaming.
Step 1: Obtain the ARN for the service-linked role of your Amazon Connect instance
You can use the Amazon Connect console or the AWS CLI to obtain the ARN.
Use the Amazon Connect console to obtain the ARN
-
Open the Amazon Connect console at https://console.aws.amazon.com/connect/
. -
On the instances page, choose the instance name, as shown in the following image.
-
On the Account overview page, in the Distribution settings section, the service-linked role is displayed.

-
Choose the copy icon to copy the role ARN to your clipboard, and save that ARN. You're going to use it in Step 2: Construct a policy statement.
Use the AWS CLI to obtain the ARN
-
Run the following command:
aws connect describe-instance --instance-idyour_instance_id -
Save the ServiceRole value from the CLI output.
Step 2: Construct a policy statement
Construct a policy statement that gives permission to the ARN of the Amazon Connect service-link role to generate data keys. The following code shows a sample policy.
{
    "Sid": "Allow use of the key for Amazon Connect streaming",
    "Effect": "Allow",
    "Principal": {
        "AWS": "the ARN of the Amazon Connect service-linked role"
    },
    "Action": "kms:GenerateDataKey",
    "Resource": "*"
 }
Add this statement to the KMS key policy by using your preferred mechanism, such as the AWS Key Management Service console, the AWS CLI, or the AWS CDK.
