Managing user access with email and password
Important
Amazon FinSpace Dataset Browser will be discontinued on March 26,
2025. Starting November 29, 2023, FinSpace will no longer accept the creation of new Dataset Browser
environments. Customers using Amazon FinSpace with Managed Kdb Insights
This section describes how you can manage users in an Amazon FinSpace environment created with Email and password based authentication.
Note
To create and manage users, you must be a superuser or a member of a group with necessary permissions - Manage Users and Permission Groups.
You can invite users by creating an account for them and sharing access credentials.
Creating the first superuser
The first superuser must be created after a new FinSpace environment is created. See details in this section. Once the first superuser is created, they can sign in to FinSpace web application and setup other superusers and application users. Subsequent superusers can be created by the first superuser in the FinSpace web application.
Inviting users to access FinSpace
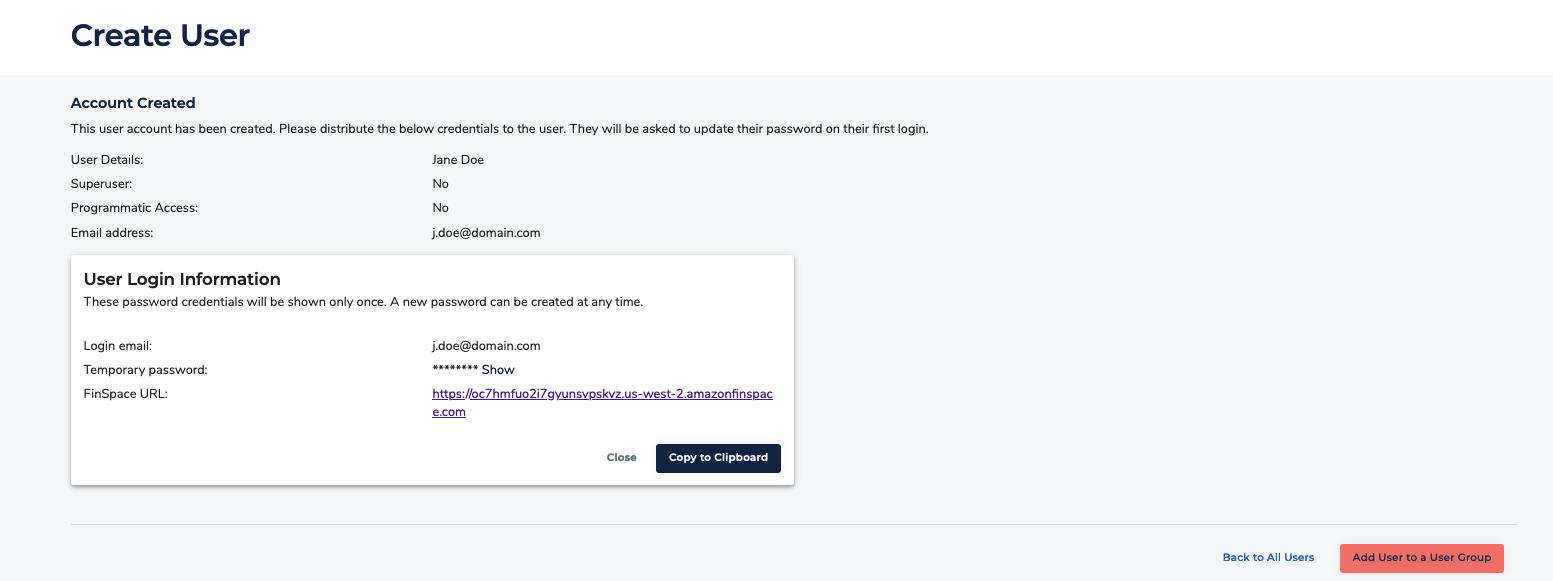
In FinSpace, you can invite users by creating an account for them and sharing access credentials. FinSpace accounts are created in two steps. First, you create a user in FinSpace. This creates an inactive account in FinSpace, credentials and a temporary password is generated for the user which is shared with them. When the user accepts the invitation and signs in for the first time, the user creates a new password to activate the account.
For more information about signing in for the first time, see Signing in to the Amazon FinSpace web application.
To create accounts and invite users to FinSpace
Sign in to the FinSpace web application. For more information, see Signing in to the Amazon FinSpace web application.
-
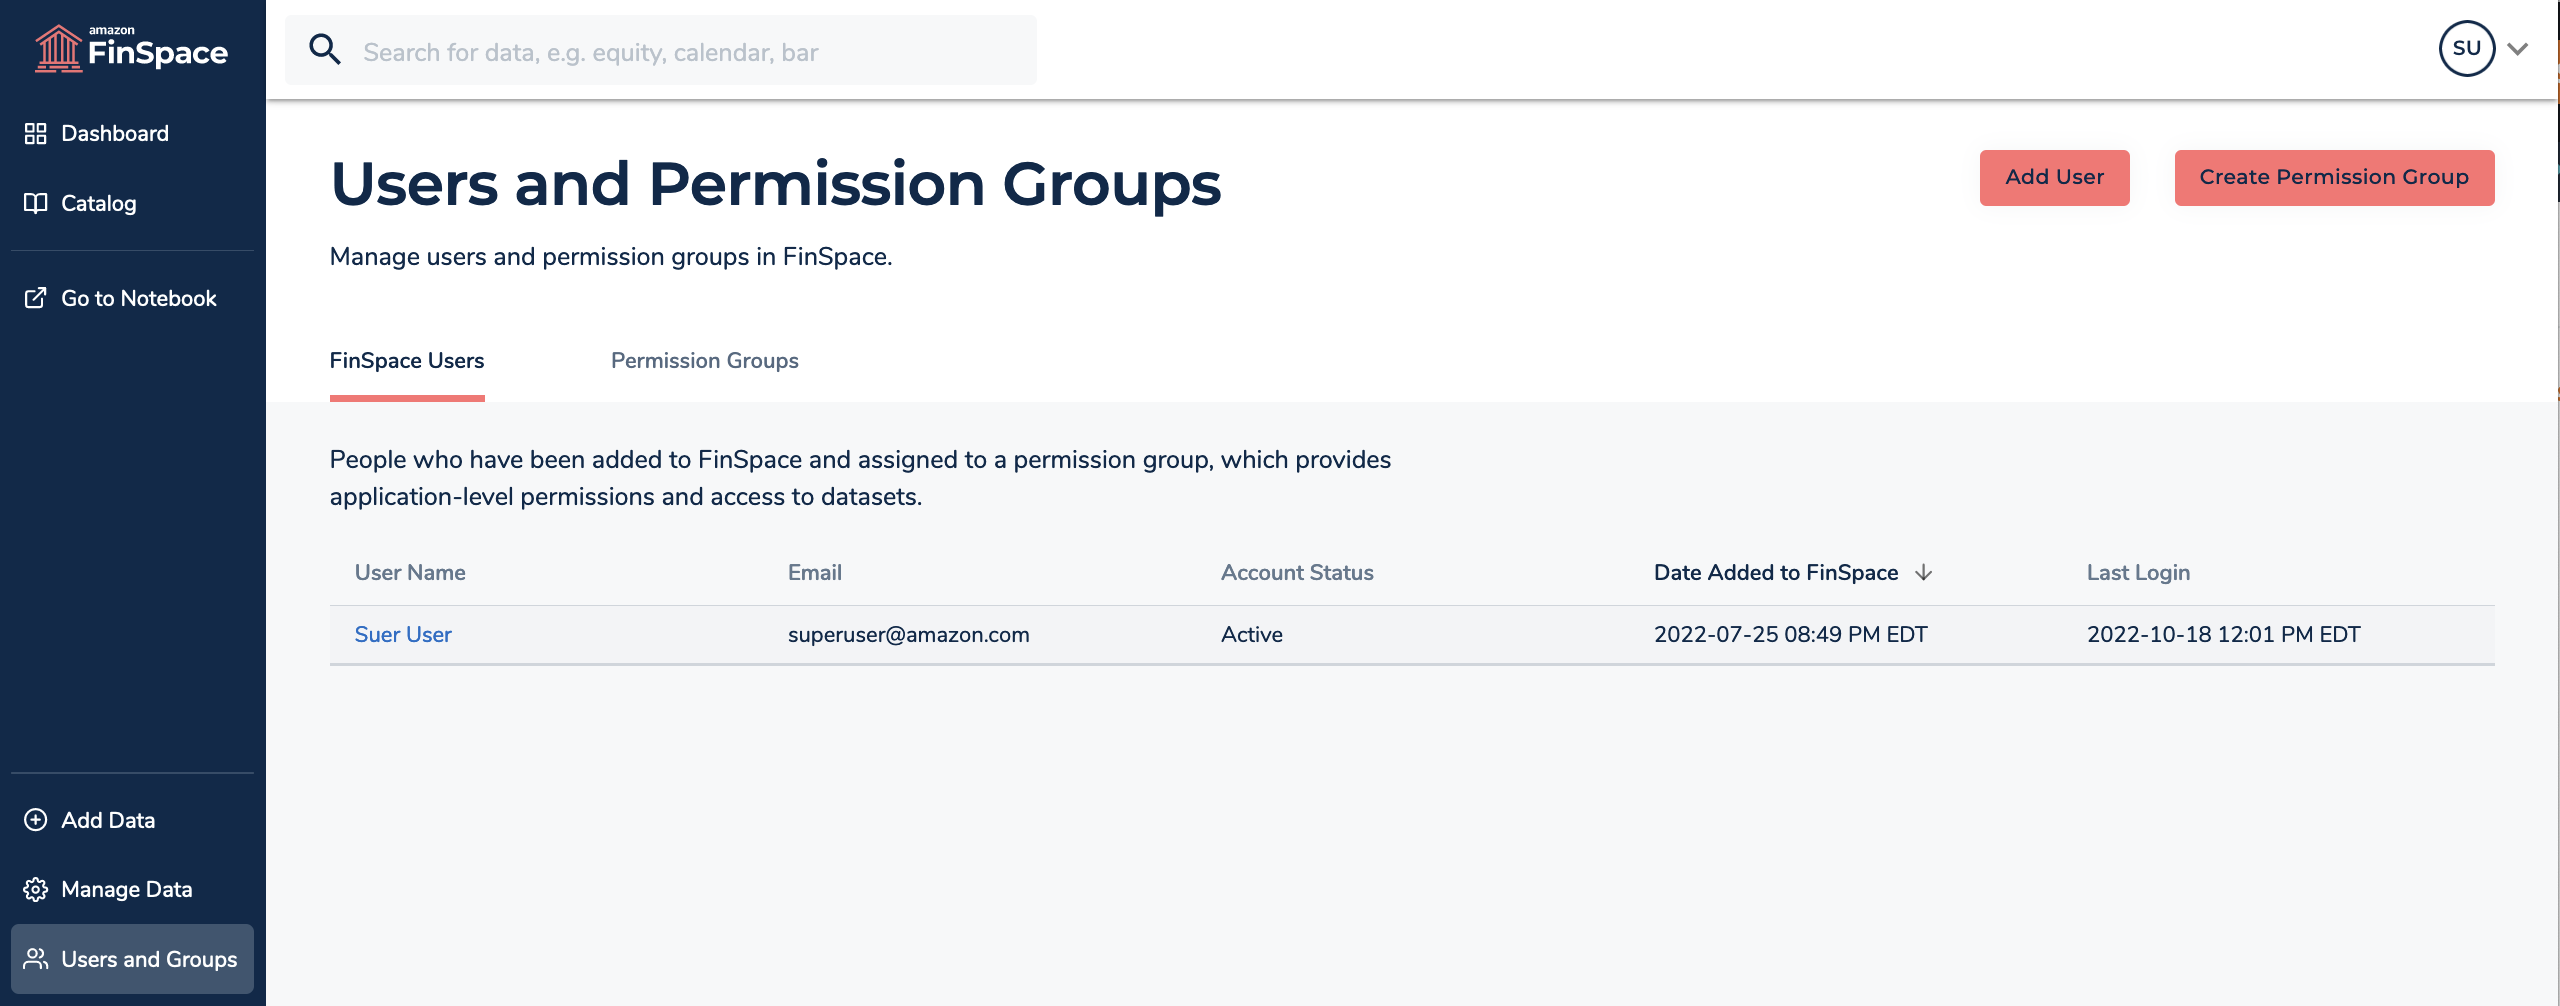
On the left navigation bar of the home page, choose Users and Groups.
-
On the Users and Permission Groups page, choose Add User.
-
On the Create User page, specify the User Details.
-
For Superuser, choose Yes to designate the user as a superuser or No to designate this user as an application user.
-
For Programmatic Access, choose Yes to provide access to use FinSpace APIs and SDK or choose No to deny programmatic access.
When you choose Yes, you are required to specify the IAM Principal ARN for this user in the format
arn:partition:service::region::account::resource. -
Choose Create User.
-
After the account is created, copy the credentials to clipboard and share them with the new user.
Viewing user details
To view details of a user
Sign in to the FinSpace web application. For more information, see Signing in to the Amazon FinSpace web application.
-
On the left navigation bar of the home page, choose Users and Groups. The Users and Permission Groups page, displays the list of users under the FinSpace Users tab.
-
Select a user to view their details.
Deactivating a user
To deactivate a user
Sign in to the FinSpace web application. For more information, see Signing in to the Amazon FinSpace web application.
-
On the left navigation bar of the home page, choose Users and Groups.
-
Choose FinSpace Users tab.
-
Select a user to view their details.
-
On the top right corner, choose More menu.
-
Choose Deactivate User. This button is only visible to superusers and users with with necessary permissions – Manage Users and Permission Groups.
-
On the confirmation dialog box, choose Deactivate. You can activate a user again later if necessary.
