Connect a WordPress instance to a Lightsail bucket for static content
This tutorial describes the steps required to connect your WordPress website running on an Amazon Lightsail instance to a Lightsail bucket. You can use the bucket to host static content such as images and attachments. To do this, you must install the WP Offload Media Lite plugin on your WordPress website and configure it to connect to your Lightsail bucket. After the plugin is configured, all media that you upload to your WordPress website is automatically added to your bucket instead of the instance’s disk.
Contents
Step 1: Complete the prerequisites
Complete the following prerequisites if you haven't already:
-
Create a WordPress instance in Lightsail. For more information, see Tutorial: Launch and configure a WordPress instance in Amazon Lightsail.
-
Create a bucket in the Lightsail object storage service. For more information, see Create a bucket.
Step 2: Modify your bucket permissions
Complete the following procedure to change the permissions of your bucket to give access to your WordPress instance and the Offload Media Lite plugin. The access permissions of your bucket must be set to Individual objects can be made public (read-only). You must also attach the WordPress instance to the access role of your bucket. For more information about bucket permissions, see Bucket permissions.
-
Sign in to the Lightsail console
. -
In the left navigation pane, choose Storage.
-
Choose the name of the bucket that you want to use with your WordPress website.

-
Choose the Permissions tab on the Bucket management page.
-
Choose Change permissions under the Bucket access permissions section of the page.

-
Choose Individual objects can be made public and read only.

-
Choose Save.
-
Choose Yes, save in the confirmation prompt that appears.
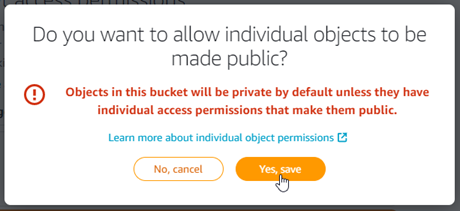
After a few moments, your bucket is configured to allow for individual object access. This ensures that objects uploaded to your bucket from your WordPress website using the Offload Media Lite plugin are readable to your customers.
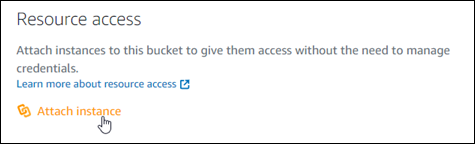
-
Scroll to the Resource access section of the page, and choose Attach instance.
-
Choose the name of your WordPress instance in the drop-down list that appears, and then choose Attach.
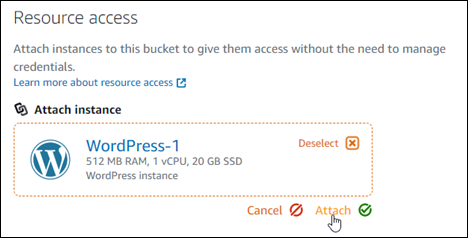
After a few moments, your WordPress instance is attached to your bucket. This gives your WordPress instance access to manage your bucket and its objects.
Step 3: Install the WP Offload Media Lite plugin on your WordPress website
Complete the following procedure to install the WP Offload Media Lite plugin on your
WordPress website. This plugin automatically copies images, videos, documents, and any other
media added through the WordPress media uploader to your Lightsail bucket. For more
information, see WP
Offload Media Lite
-
Sign in to the dashboard of your WordPress website as an administrator.
For more information, see Getting the application user name and password for your Bitnami instance in Amazon Lightsail.
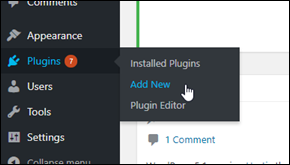
-
Pause on Plugins in the left navigation menu, and choose Add New.
-
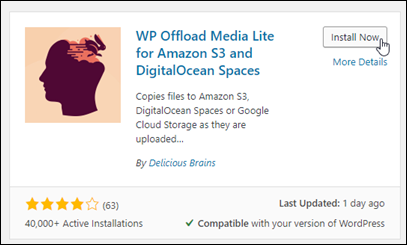
Search for WP Offload Media Lite.
-
In the search results, choose Install Now next to the WP Offload Media plugin.
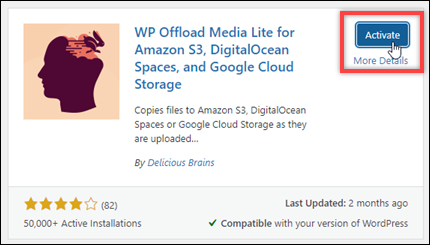
-
Choose Activate after the plugin is done installing.
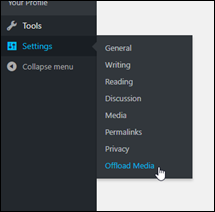
-
In the left navigation menu, choose Settings, and then choose Offload Media.
-
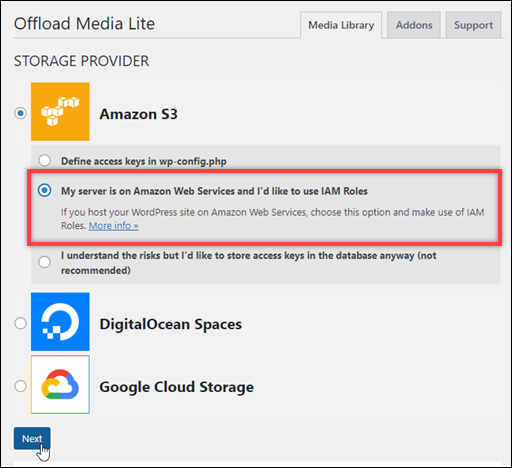
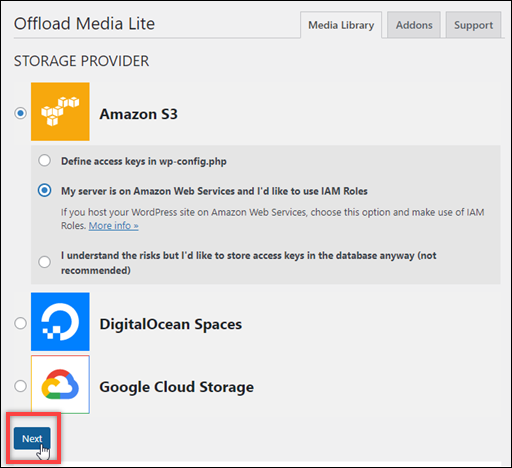
In the Offload Media page, choose Amazon S3 as the storage provider.
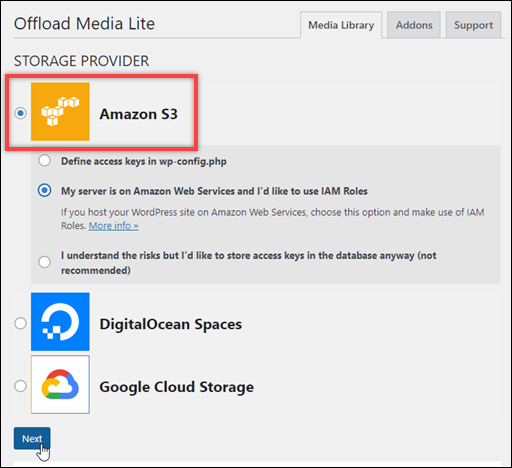
-
Choose My server is on Amazon Web Services and I'd like to use IAM Roles.
-
Choose Next.
-
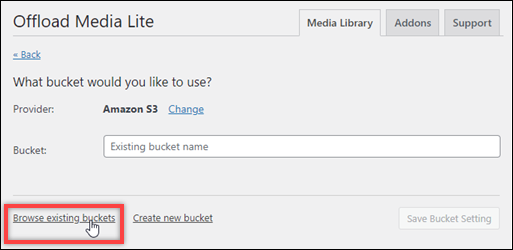
Choose Browse existing buckets in the What bucket would you like to use? page that appears.
-
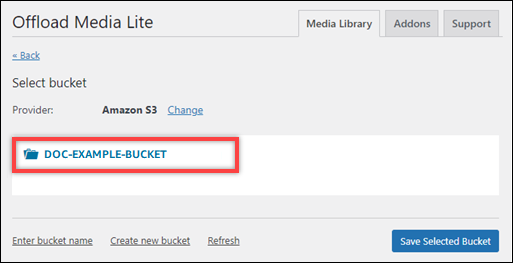
Choose the name of the bucket that you want to use with your WordPress instance.
-
In the Offload Media Lite Settings page that appears, make sure to turn on Force HTTPS and Remove Files From Server.
-
The Force HTTPS setting must be turned on because Lightsail buckets use HTTPS by default to serve media files. If you don't turn this feature on, media files that are uploaded to your Lightsail bucket from your WordPress website won't be served correctly to your website visitors.
-
The Remove Files From Server setting ensures that media that is uploaded to your Lightsail bucket isn't also stored on your instance's disk. If you don't turn this feature on, media files that are uploaded to your Lightsail bucket are also stored on the local storage of your WordPress instance.

-
-
Choose Save Changes.
Note
To return to the Offload Media Lite Settings page later, pause on Settings in the left navigation menu, and choose Offload Media Lite.
Your WordPress website is now configured to use the Media Lite Plugin. The next time you upload a media file through WordPress, that file is automatically uploaded to your Lightsail bucket, and is served by the bucket. To test the configuration, continue to the next section of this tutorial.
Step 4: Test the connection between your WordPress website and your Lightsail bucket
Complete the following procedure to upload a media file to your WordPress instance and confirm that it is uploaded to, and is served from your Lightsail bucket.
-
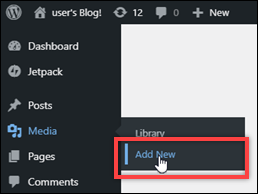
Pause on Media in the left navigation menu of the WordPress dashboard, and choose Add New.
-
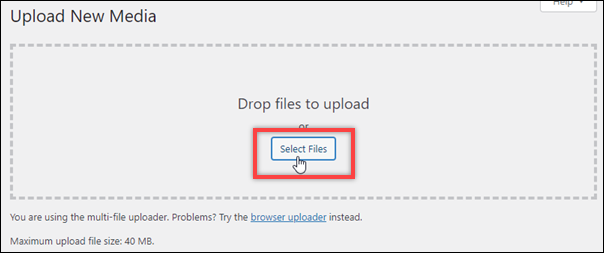
Choose Select Files on the Upload New Media page that appears.
-
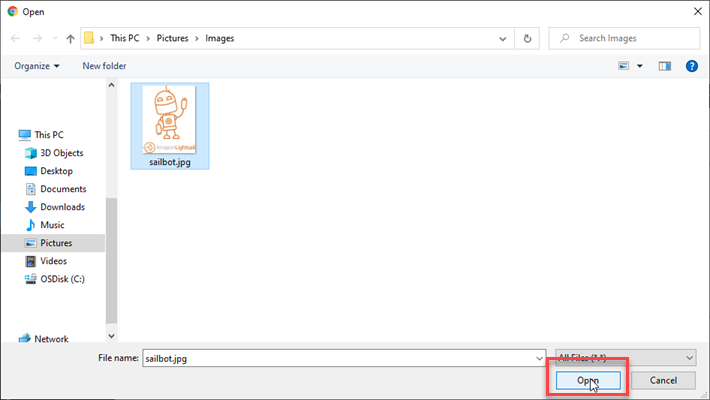
Choose a media file to upload from your local computer, and choose Open.
-
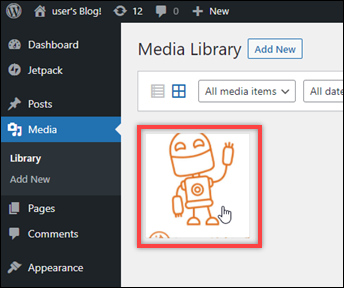
When the file is done uploading, choose Library under Media in the left navigation menu.

-
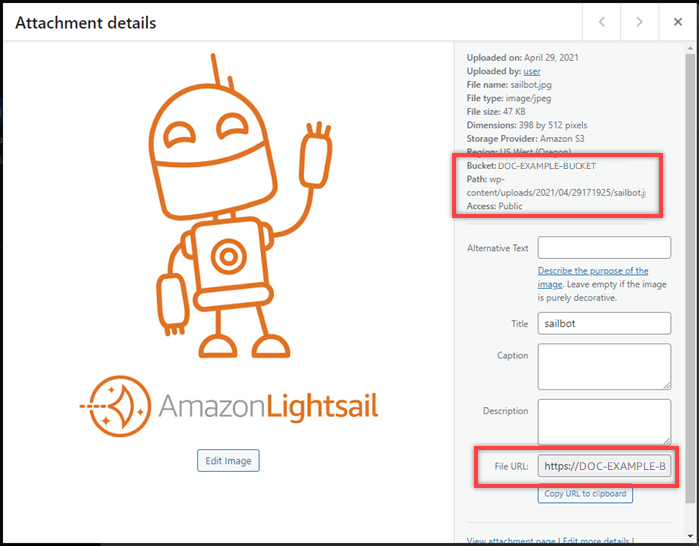
Choose the file that you recently uploaded.
-
In the details panel of the file, you should see the name of your bucket in the Bucket and File URL fields.
-
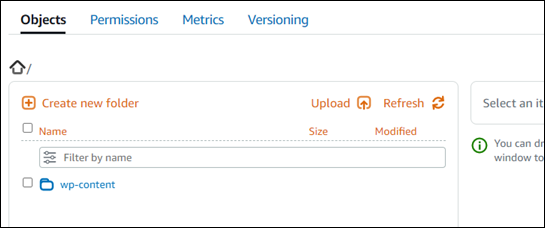
When you go to the Objects tab of the Lightsail bucket management page, you should see a wp-content folder. This folder is created by the Offload Media Lite plugin and is used to store your uploaded media files.
Manage buckets and objects
These are the general steps to manage your Lightsail object storage bucket:
-
Learn about objects and buckets in the Amazon Lightsail object storage service. For more information, see Object storage in Amazon Lightsail.
-
Learn about the names that you can give your buckets in Amazon Lightsail. For more information, see Bucket naming rules in Amazon Lightsail.
-
Get started with the Lightsail object storage service by creating a bucket. For more information, see Creating buckets in Amazon Lightsail.
-
Learn about security best practices for buckets and the access permissions that you can configure for your bucket. You can make all objects in your bucket public or private, or you can choose to make individual objects public. You can also grant access to your bucket by creating access keys, attaching instances to your bucket, and granting access to other AWS accounts. For more information, see Security Best Practices for Amazon Lightsail object storage and Understanding bucket permissions in Amazon Lightsail.
After learning about bucket access permissions, see the following guides to grant access to your bucket:
-
Learn how to enable access logging for your bucket, and how to use access logs to audit the security of your bucket. For more information, see the following guides.
-
Access logging for buckets in the Amazon Lightsail object storage service
-
Access log format for a bucket in the Amazon Lightsail object storage service
-
Enabling access logging for a bucket in the Amazon Lightsail object storage service
-
Using access logs for a bucket in Amazon Lightsail to identify requests
-
-
Create an IAM policy that grants a user the ability to manage a bucket in Lightsail. For more information, see IAM policy to manage buckets in Amazon Lightsail.
-
Learn about the way that objects in your bucket are labeled and identified. For more information, see Understanding object key names in Amazon Lightsail.
-
Learn how to upload files and manage objects in your buckets. For more information, see the following guides.
-
Enable object versioning to preserve, retrieve, and restore every version of every object stored in your bucket. For more information, see Enabling and suspending object versioning in a bucket in Amazon Lightsail.
-
After enabling object versioning, you can restore previous versions of objects in your bucket. For more information, see Restoring previous versions of objects in a bucket in Amazon Lightsail.
-
Monitor the utilization of your bucket. For more information, see Viewing metrics for your bucket in Amazon Lightsail.
-
Configure an alarm for bucket metrics to be notified when the utilization of your bucket crosses a threshold. For more information, see Creating bucket metric alarms in Amazon Lightsail.
-
Change the storage plan of your bucket if it's running low on storage and network transfer. For more information, see Changing the plan of your bucket in Amazon Lightsail.
-
Learn how to connect your bucket to other resources. For more information, see the following tutorials.
-
Delete your bucket if you're no longer using it. For more information, see Deleting buckets in Amazon Lightsail.
