End of support notice: On December 15, 2025, AWS will end support for AWS IoT Analytics. After December 15, 2025, you will no longer be able to access the AWS IoT Analytics console, or AWS IoT Analytics resources. For more information, see AWS IoT Analytics end of support.
Containerizing a notebook
This section includes information about how to build a Docker container using a Jupyter notebook. There is a security risk if you re-use notebooks built by third parties: included containers can execute arbitrary code with your user permissions. In addition, the HTML generated by the notebook can be displayed in the AWS IoT Analytics console, providing a potential attack vector on the computer displaying the HTML. Make sure you trust the author of any third-party notebook before using it.
One option to perform advanced analytical functions is to use a Jupyter Notebook
If you have created a SageMaker AI Instance using the AWS IoT Analytics console after August 23, 2018, then the installation of the containerization extension has been done for you automatically and you can begin creating a containerized image. Otherwise, follow the steps listed in this section to enable notebook containerization on your SageMaker AI instance. In what follows, you modify your SageMaker AI Execution Role to allow you to upload the container image to Amazon EC2 and you install the containerization extension.
Enable containerization of notebook instances not created via AWS IoT Analytics console
We recommend that you create a new SageMaker AI instance via the AWS IoT Analytics console instead of following these steps. New instances automatically support containerization.
If you restart your SageMaker AI instance after enabling containerization as shown here, you won't have to re-add the IAM roles and policies, but you must re-install the extension, as shown in the final step.
-
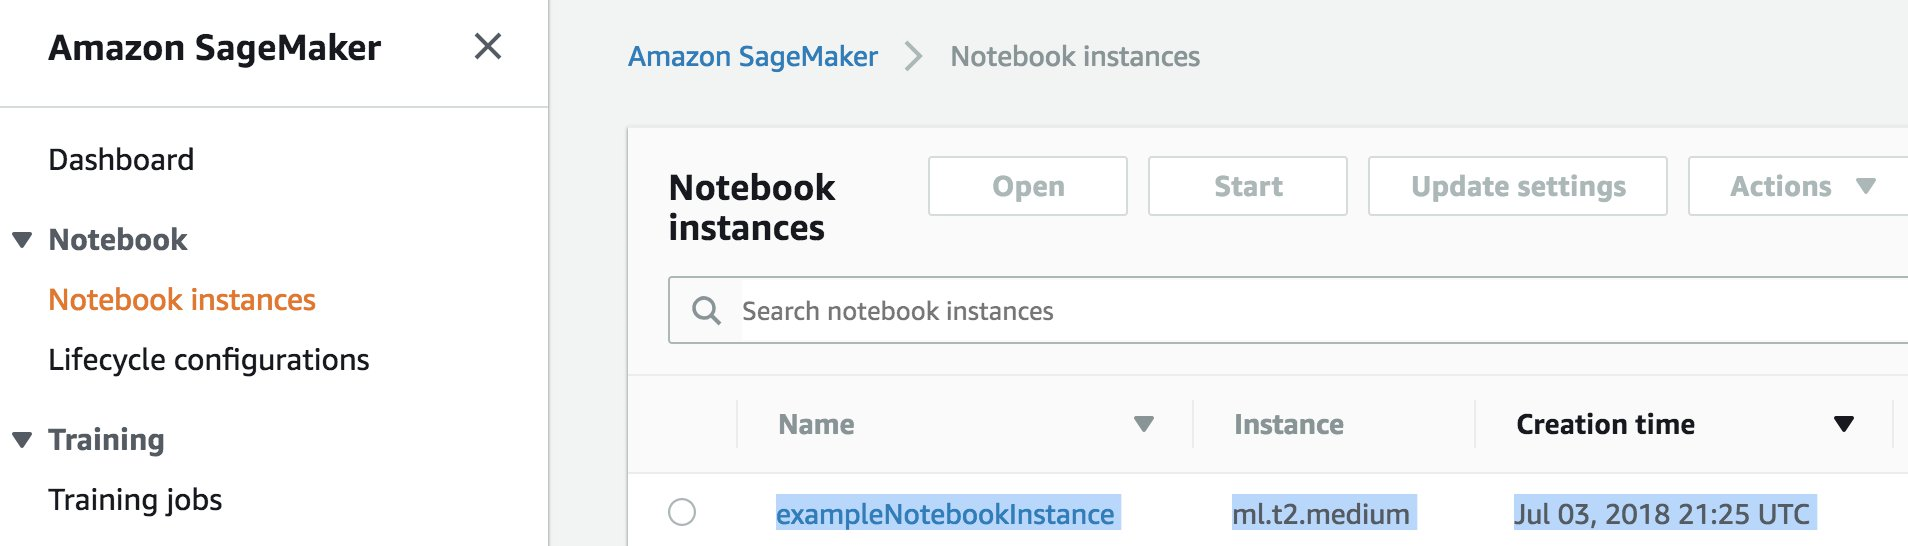
To grant your notebook instance access to Amazon ECS, select your SageMaker AI instance on the SageMaker AI page:
-
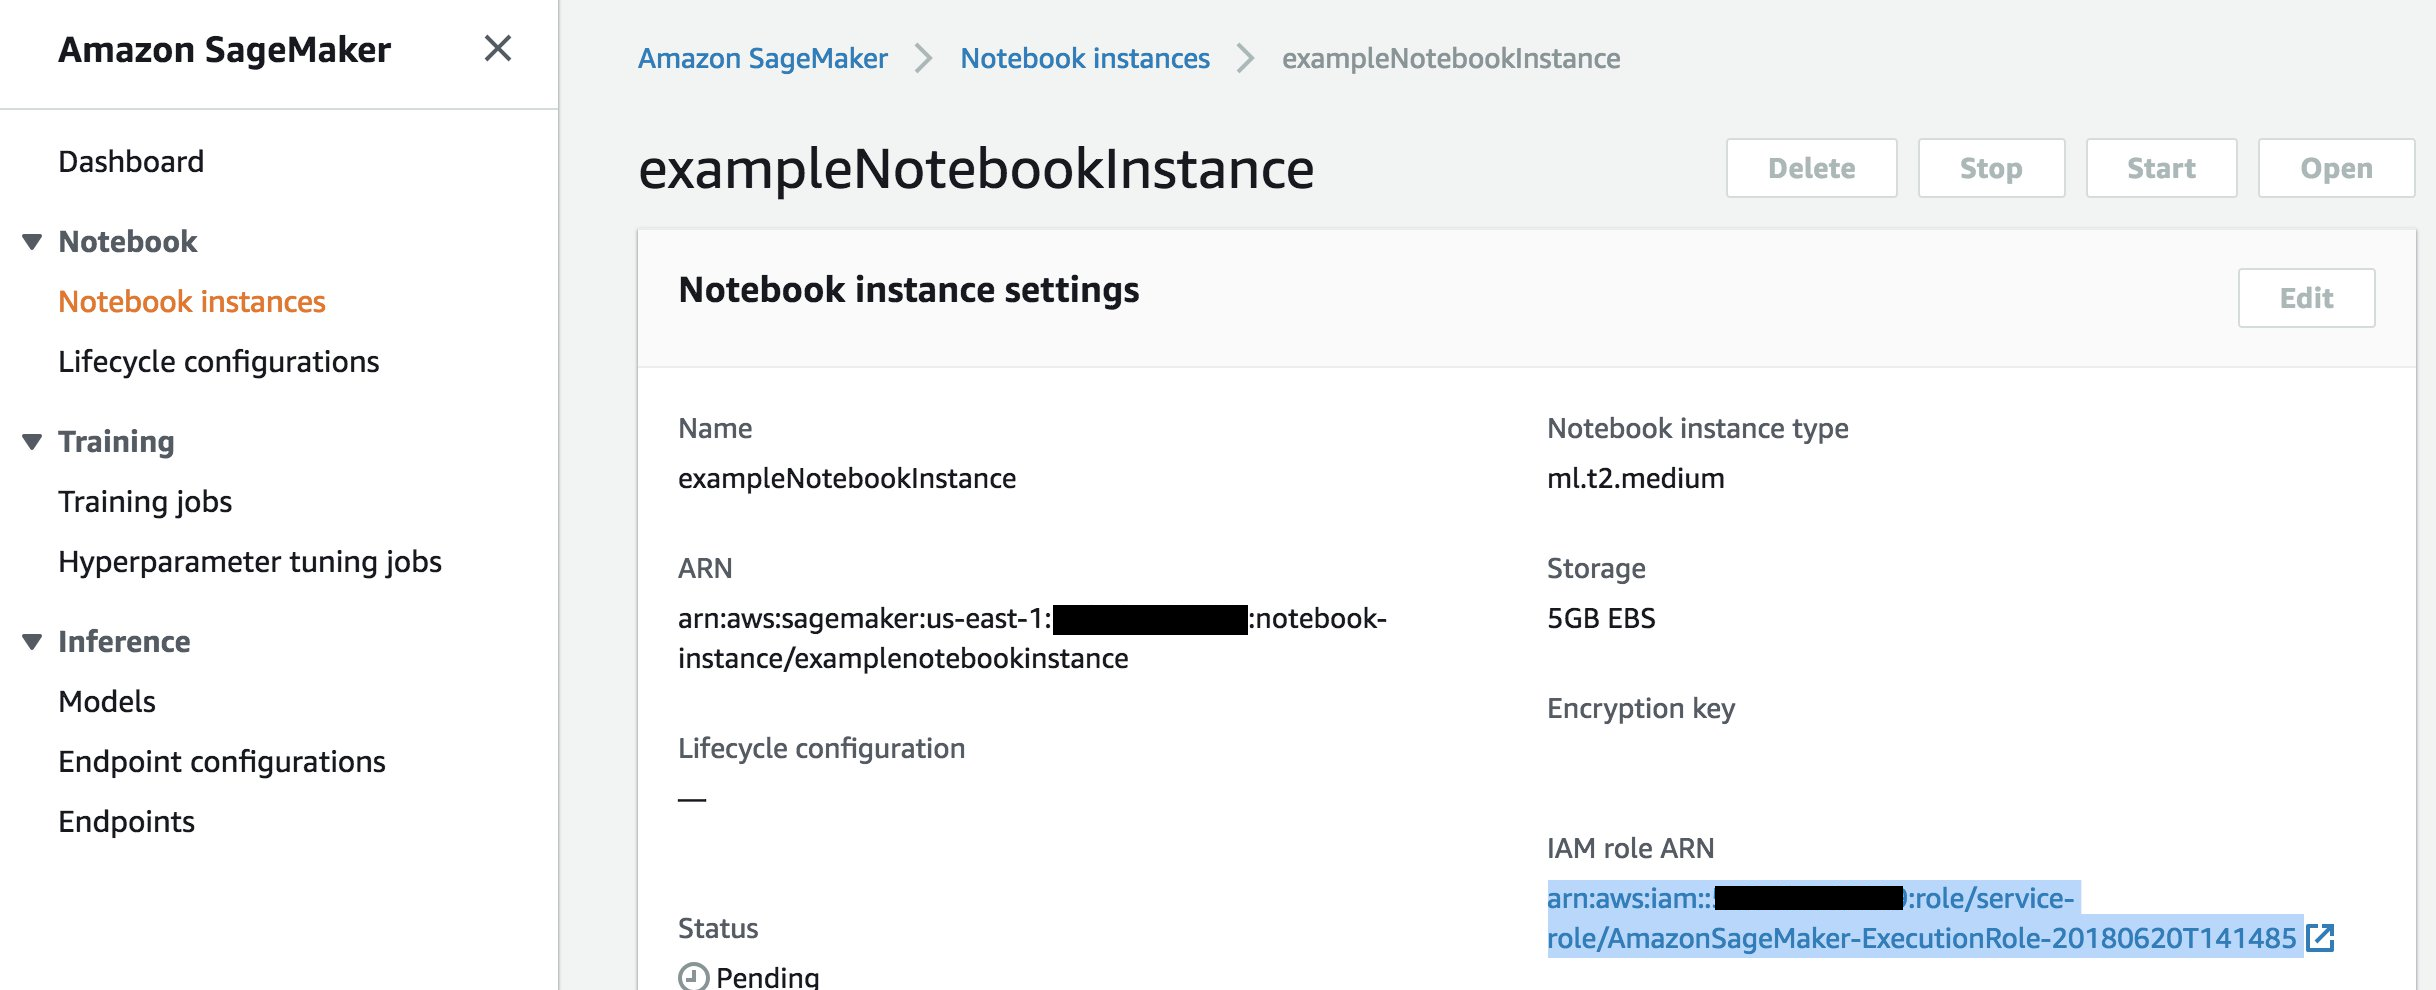
Under IAM role ARN, choose the SageMaker AI Execution Role.
-
Choose Attach Policy, then define and attach the policy shown in Permissions. If the
AmazonSageMakerFullAccesspolicy is not already attached, attach it as well.
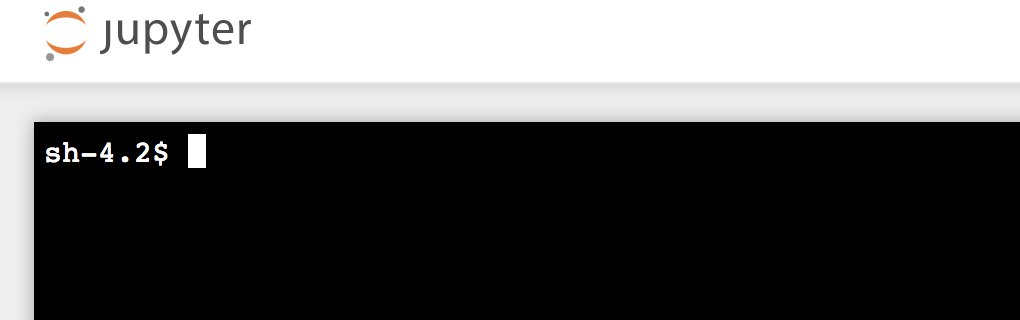
You also must download the containerization code from Amazon S3 and install it on your notebook instance, The first step is to access the SageMaker AI instance's terminal.
-
Inside Jupyter, choose New.

-
In the menu that appears, choose Terminal.

-
Inside the terminal, enter the following commands to download the code, unzip it, and install it. Note that these commands kill any processes being run by your notebooks on this SageMaker AI instance.
cd /tmp

aws s3 cp s3://iotanalytics-notebook-containers/iota_notebook_containers.zip /tmp

unzip iota_notebook_containers.zip

cd iota_notebook_containers

chmod u+x install.sh

./install.sh
Wait for a minute or two for the extension to be validated and installed.
Update your notebook containerization extension
If you created your SageMaker AI Instance via the AWS IoT Analytics console after August 23, 2018, then the containerization extension was installed automatically. You can update the extension by restarting your instance from SageMaker AI Console. If you installed the extension manually, then you may update it by re-running the terminal commands listed in Enable Containerization Of Notebook Instances Not Created Via AWS IoT Analytics Console.
Create a containerized image
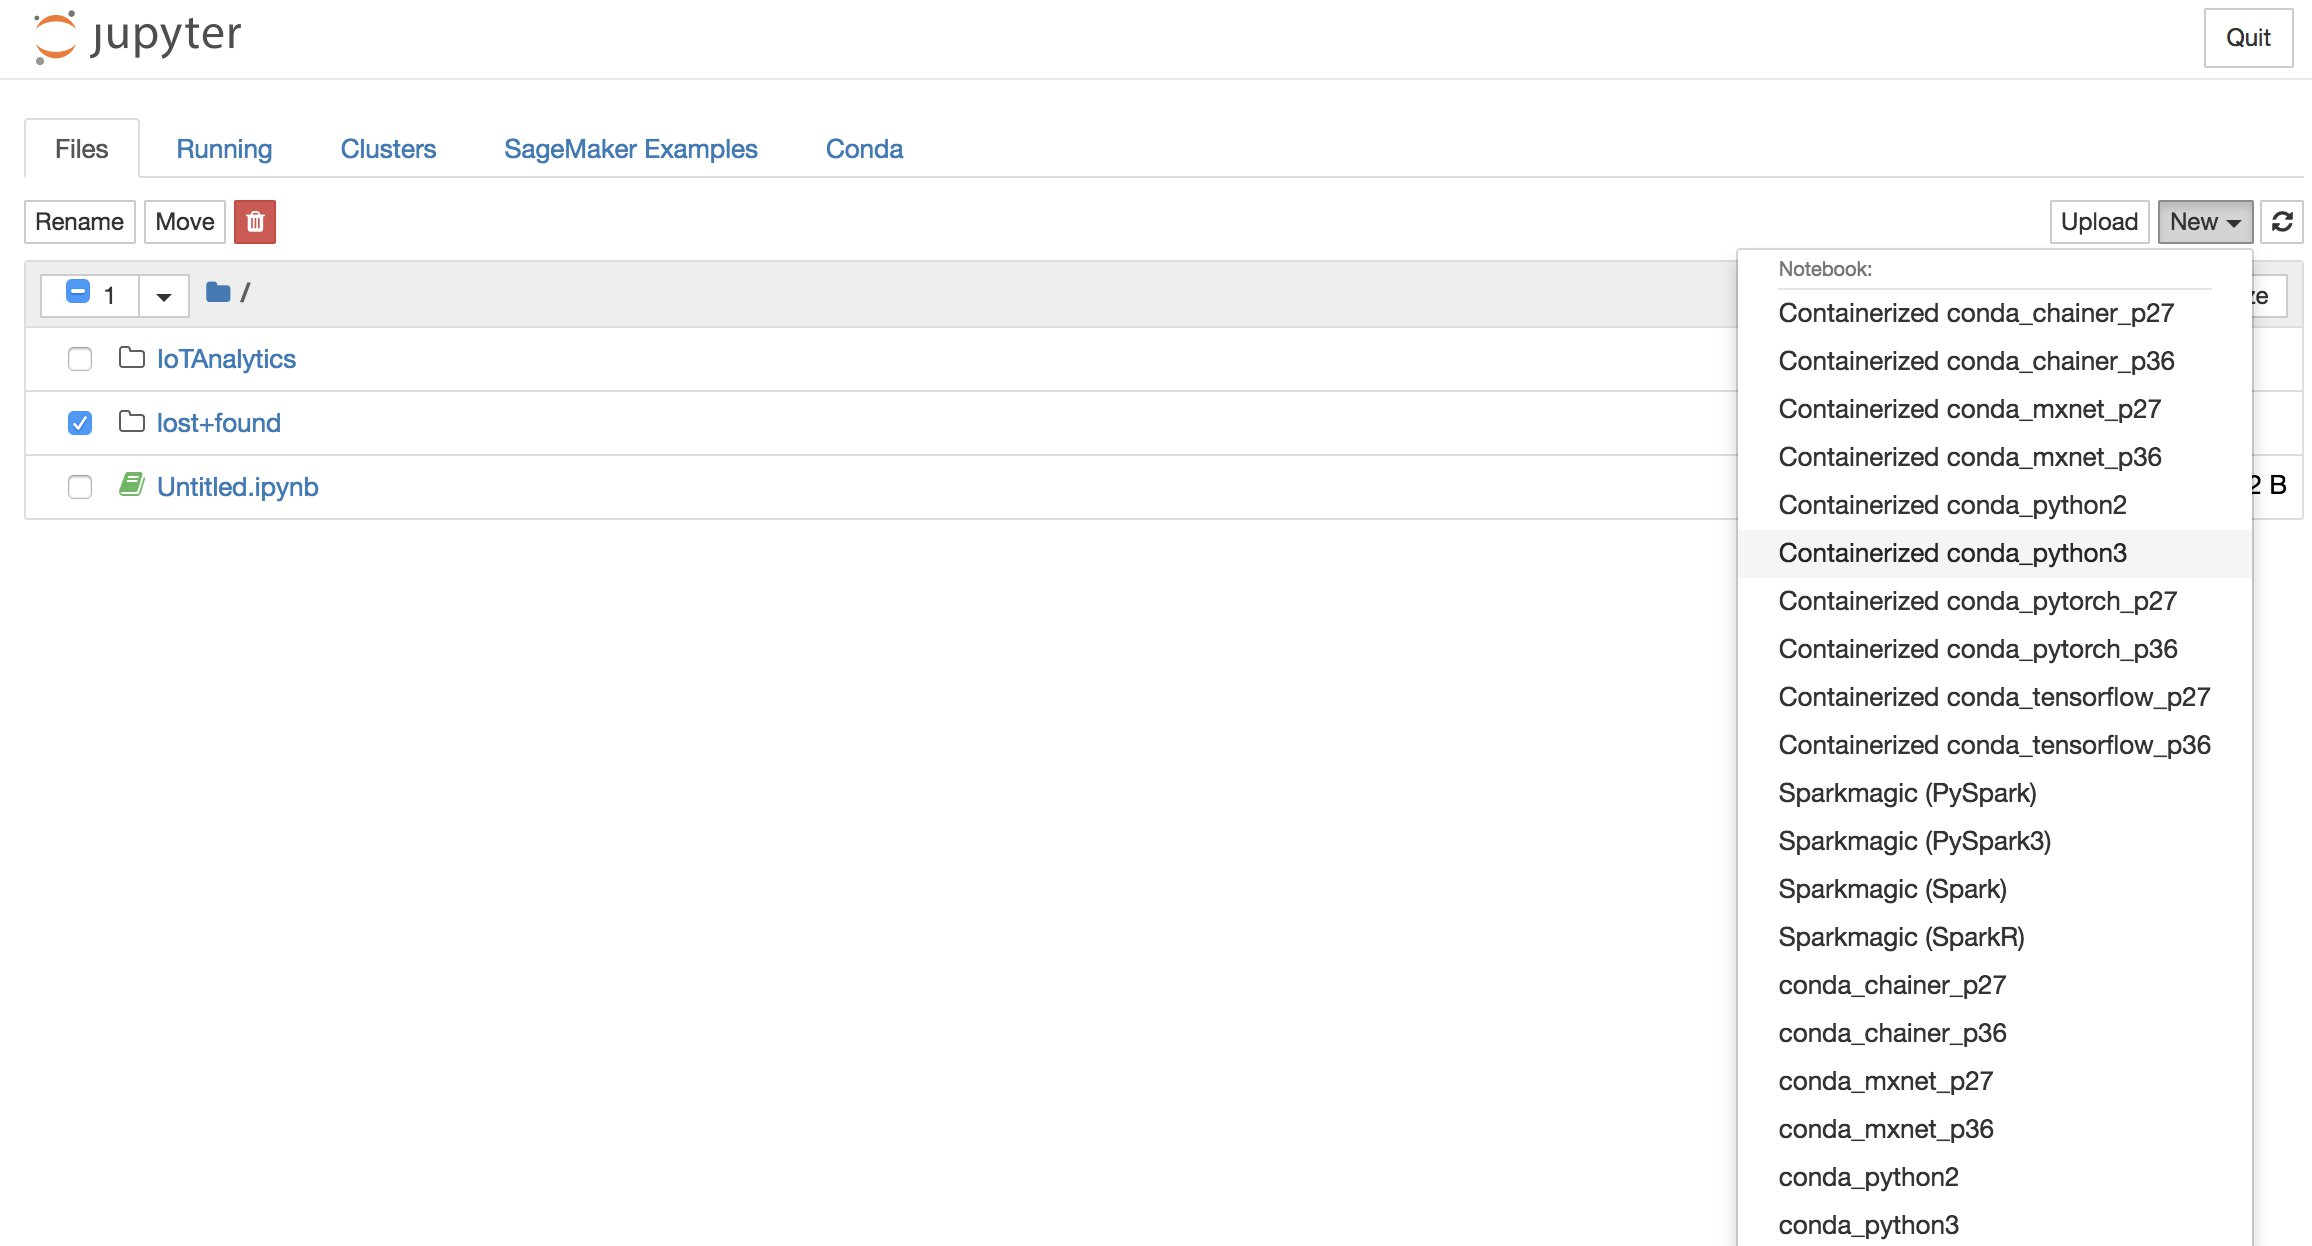
In this section we show the steps necessary to containerize a notebook. To begin, go to your Jupyter Notebook to create a notebook with a containerized kernel.
-
In your Jupyter Notebook, choose New, then choose the kernel type you want from the dropdown list. (The kernel type should start with "Containerized" and end with whatever kernel you would have otherwise selected. For example, if you just want a plain Python 3.0 environment like "conda_python3", choose "Containerized conda_python3").
-
After you have completed work on your notebook and you want to containerize it, choose Containerize.

-
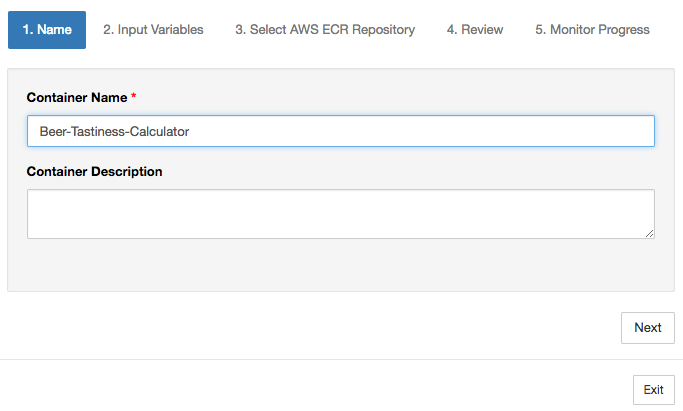
Enter a name for the containerized notebook. You can also enter an optional description.
-
Specify the Input Variables (parameters) that your notebook should be invoked with. You can select the input variables that are automatically detected from your notebook or define custom variables. (Note that input variables are only detected if you have previously executed your notebook.) For each input variable choose a type. You can also enter an optional description of the input variable.

-
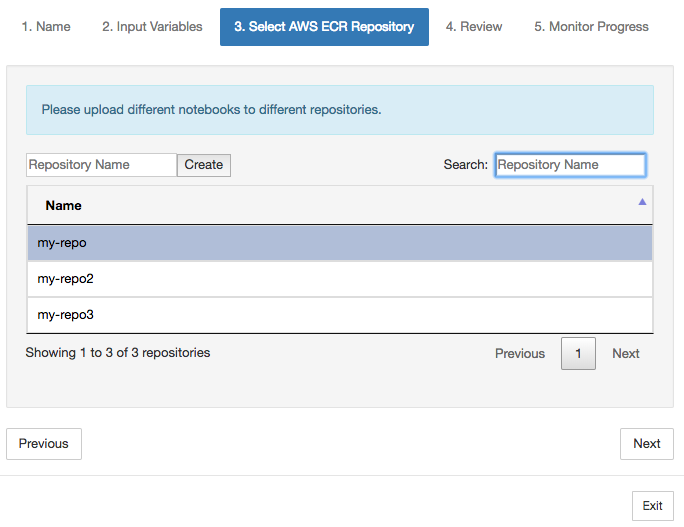
Choose the Amazon ECR repository where the image created from the notebook should be uploaded.
-
Choose Containerize to begin the process.
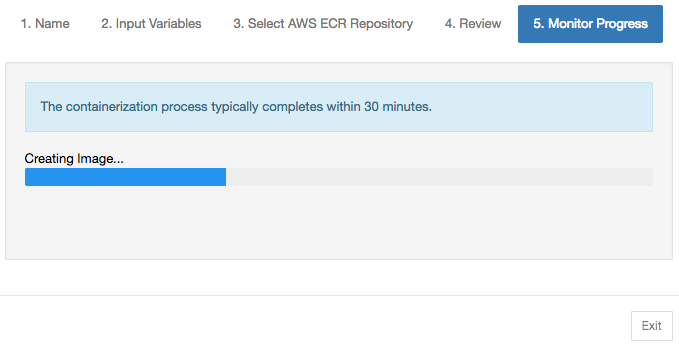
You are presented with an overview summarizing your input. Note that after you have started the process you can't cancel it. The process might last up to an hour.

-
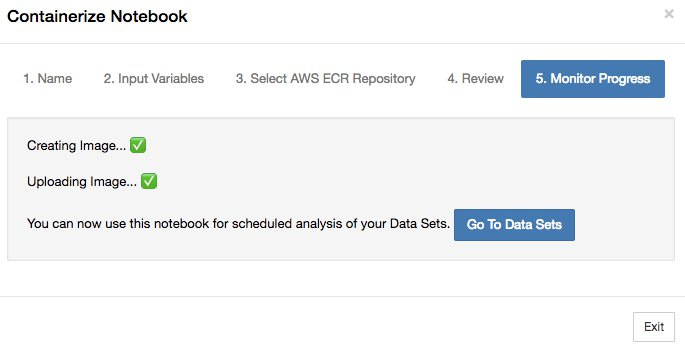
The next page shows the progress.
-
If you accidentally close your browser, you can monitor the status of the containerization process from the Notebooks section of the AWS IoT Analytics console.
-
After the process is complete, the containerized image is stored on Amazon ECR ready for use.