This whitepaper is for historical reference only. Some content might be outdated and some links might not be available.
Deployment steps
The procedure for deploying a Magento cluster on AWS consists of the following steps. For detailed instructions, follow the links for each step.
Step 1. Prepare an AWS account
-
If you don’t already have an AWS account, create one at https://aws.amazon.com
by following the on-screen instructions. Part of the sign-up process involves receiving a phone call and entering a PIN using the phone keypad. -
Use the Region selector in the navigation bar to choose the AWS Region where you want to deploy the Magento cluster on AWS. For more information, see Regions and Availability Zones. Regions are dispersed and located in separate geographic areas. Each Region includes at least two Availability Zones that are isolated from one another but connected through low-latency links.
Important
This Quick Start uses Amazon Aurora, which might not be available in all AWS Regions. Before you launch this Quick Start, check the Region table
for availability. 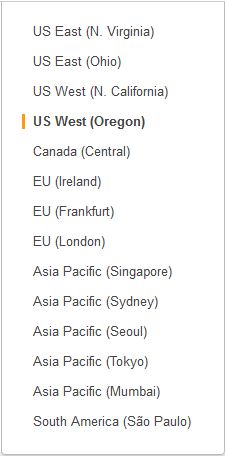
Figure 3 – Choosing an AWS Region
Tip
Consider choosing a Region closest to your data center or corporate network to reduce network latency between systems running on AWS and the systems and users on your corporate network.
-
Create a key pair in your preferred Region. In the navigation pane of the Amazon EC2 console, choose Key Pairs, Create Key Pair, type a name, and then choose Create.
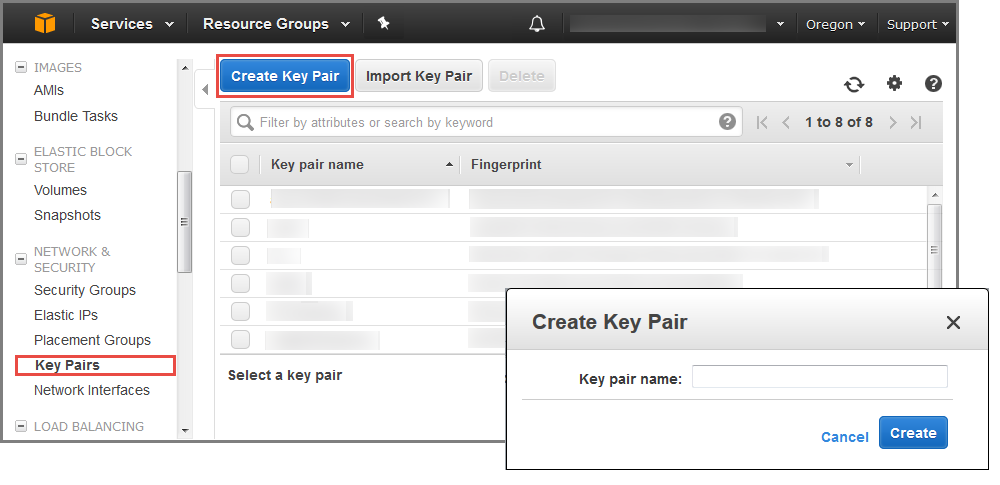
Figure 4 – Creating a key pair
Amazon EC2 uses public-key cryptography to encrypt and decrypt login information. To be able to log into your instances, you must create a key pair. On Linux, we use the key pair to authenticate SSH login.
For this deployment, store the private key you created in the previous step in Secrets Manager
using the AWS Management Console as plaintext. -
In the AWS Management Console, navigate to AWS Secrets Manager
, choose your AWS Region, and choose Store a new secret. -
Select Other type of secrets and choose Plaintext.
-
Clear the
{"":""}JSON format from the Plaintext section. -
Copy and paste your private key.
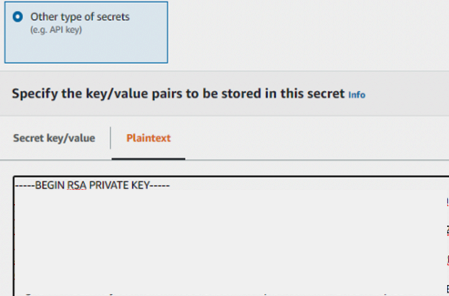
Figure 5 – Copying key
-
Keep the
DefaultEncryptionKeyto encrypt your SSH Key secret. Click Next. -
Set the secret name as "ssh-key-admin"
-
Click Next. Leave the automatic rotation to disabled. Select Next.
-
Review and select Store.
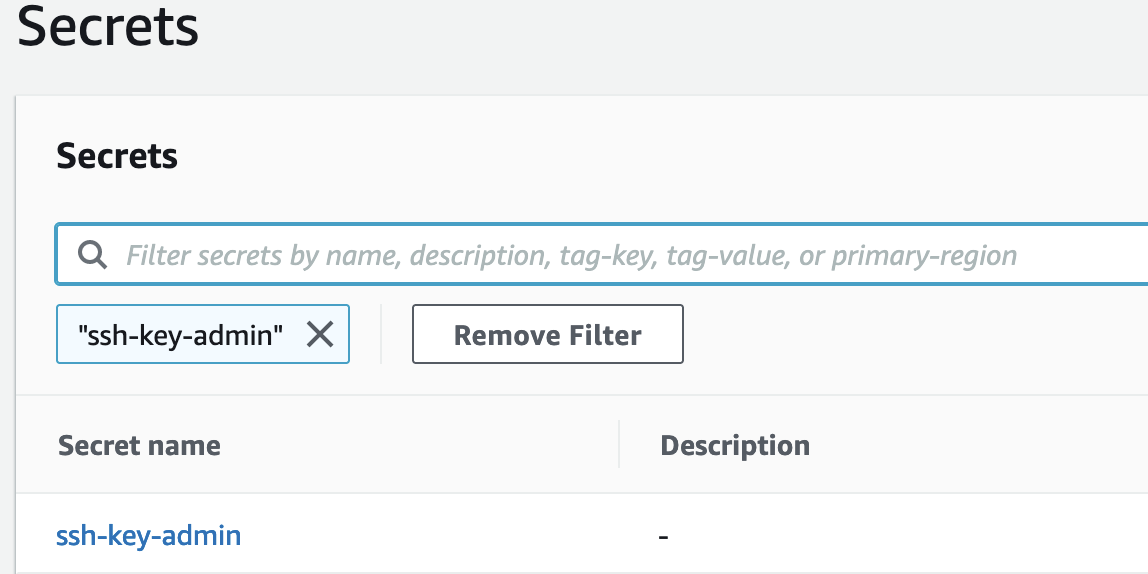
Figure 6 – Reviewing secrets
-
-
If necessary, request a service quota increase for the instance types used for the deployment. You might need to request an increase if you need additional Elastic IP addresses or if you already have an existing deployment that uses the same instance types as this architecture. On the Service Quotas
console, for each instance type that you want a service quota increase, choose the instance type, choose Request quota increase, and then complete the fields in the quota increase form. It can take a few days for the new service quota to become effective. 
Figure 7 – Requesting a service quota increase
Step 2. Create Magento keys for deployment
This deployment use Magento Composer
-
Create a Magento public authentication key for Composer Username.
-
Create a Magento private authentication key for Composer Password.
For detailed instructions on creating keys, see the Adobe
documentation

Figure 8 – Creating a Magento access key
Step 3. Set up Terraform and a Terraform Cloud account
-
Install Terraform. For installation steps, see the Terraform documentation
. -
Set up a Terraform Cloud account. For setup instructions, see the Terraform Cloud documentation
(There is a free tier available.) -
Create a workspace in Terraform to organize infrastructure. For setup instructions, see the TerraForm Cloud workspace documentation
.
Step 4. Prepare local environment with Terraform setup
Generate a Terraform Cloud token:
terraform login
Export the TERRAFORM_CONFIG variable:
export TERRAFORM_CONFIG="$HOME/.terraform.d/credentials.tfrc.json"
Configure the tfvars file
Create terraform.tfvars in the following path:
$HOME/.aws/terraform.tfvars
An example of the tfvars file contents:
AWS_ACCESS_KEY_ID = "{insert access key ID}"
AWS_SECRET_ACCESS_KEY = "{insert secret access key}"
AWS_SESSION_TOKEN = "{insert session token}"
Note
We recommend using AWS Security Token Service (AWS STS)–based credentials.
Warning
Follow best practices for managing secrets, and ensure that your credentials are not stored in a public repository.
Note
Before deployment, you must create both an AWS key pair and a Magento deployment key.
Deploy the module (Linux and iOS)
-
Clone the repository
from GitHub. -
Navigate to the repository’s root directory.
-
Navigate to the
setup_workspacedirectory:cd setup_workspace -
Run the following commands in order:
terraform initAlternatively, for the previous command, specify the file:
terraform apply -var-file="$HOME/.aws/terraform.tfvars" -
You are asked for the following:
-
The AWS Region where you want to deploy this module. This must match the Region where you generated the key pair.
-
The organization under which Terraform Cloud runs. This can be found in the Terraform Cloud console.
-
Setup confirmation.
Note
Terraform Cloud creates the workspace, which contains the Terraform Cloud organization name.
-
-
Navigate to the directory, and deploy Magento (the previous
terraform initcommand generatesbackend.hcl):cd ../deploy-
Open, edit, and review all of the variables in the
variables.tffile. -
Update the
default=value for your deployment. -
The
description=value provides additional context for each variable.The following items must be edited before deployment:
-
Project-specific:
domain_name -
Magento information:
mage_composer_username -
Magento information:
mage_composer_password -
Magento information:
magento_admin_password -
Magento information:
magento_admin_email -
Database:
magento_database_password -
Variable
base_ami_os: Useamazon_linux_2orDebian_10. -
Variable
use_aurora: If you are using Amazon RDS for MySQL instead of Amazon Aurora, change tofalse.
Important
Don’t store secret information in a public repository.
-
-
-
After you review, update and save the
./deploy/variables.tffile, see the Deployment section.
Run the following commands from an IDE or terminal with Terraform installed.
-
Initialize the environment:
terraform init
-
Verify that the deployed architecture is correct:
terraform plan -
Validate the code:
terraform validate -
Deploy the infrastructure run one of the following commands:
terraform applyor
terraform apply -var-file="$HOME/.aws/terraform.tfvars"
