Enable Cases using the Amazon Connect console
This topic explains how to enable Amazon Connect Cases using the Amazon Connect console. To use the API, see Amazon Connect Cases API Reference.
Tip
A case is always associated with a customer profile. You must have Customer Profiles enabled. Check your instance settings in the Amazon Connect console, and if a Customer Profiles domain does not yet exist, see Enable Customer Profiles for your Amazon Connect instance.
Requirements
If you're using custom IAM policies to manage access to the Amazon Connect Cases, your users need the following IAM permissions to onboard to Cases using the Amazon Connect console:
-
connect:ListInstances -
ds:DescribeDirectories -
connect:ListIntegrationAssociations -
cases:GetDomain -
cases:CreateDomain -
connect:CreateIntegrationAssociation -
connect:DescribeInstance -
iam:PutRolePolicy
For more information, see Required permissions for using custom IAM policies to manage Amazon Connect Cases.
How to enable Amazon Connect Cases
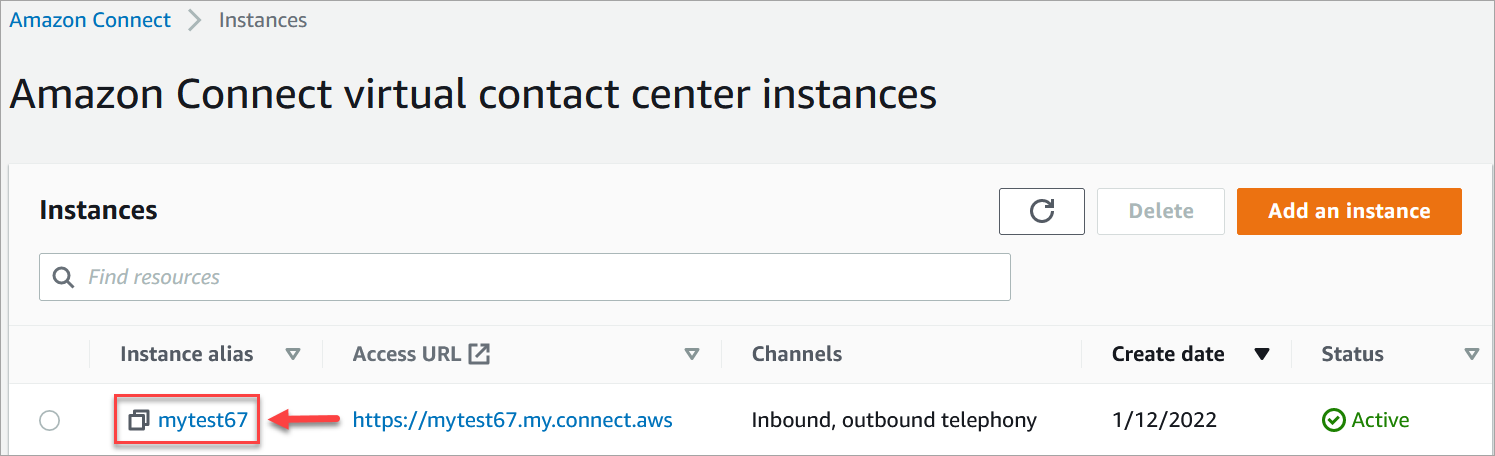
Open the Amazon Connect console at https://console.aws.amazon.com/connect/
. On the instances page, choose the instance alias. The instance alias is also your instance name, which appears in your Amazon Connect URL. The following image shows the Amazon Connect virtual contact center instances page, with a box around the instance alias.
-
On the left navigation menu, choose Cases under the Applications section. If you don't see this option, it may not be available in your Region. For information about where Cases is available, see Cases availability by Region.
-
Choose Enable cases to get started.
-
On the Cases page, choose Add domain.
-
On the Add domain page, enter a unique, friendly name that's meaningful to you, such as your organization name.
-
Choose Add domain. The domain is created.
If the domain is not created, choose Try again. If that doesn't work, contact Support.
Tip
To delete a Cases domain, use the DeleteDomain API.
Next steps
After your cases domain is created, do the following:
-
Assign security profile permissions to agents and call center managers.
-
Create case fields. Fields are the building blocks of your case templates.
-
Create case templates. Case templates are forms that agents complete and reference in the agent application. Templates ensure the right information is collected and referenced for different types of customer issues.
-
Optionally, enable attachments across your Amazon Connect instance. This step allows your agents to upload files to cases. For more information on the Files API, see the StartAttachedFileUpload API documentation.
Note
Ensure that you have the
cases:CreateRelatedItempermission for your IAM entity. For more information on Cases permissions, see Actions, resources, and condition keys for Amazon Connect Cases. -
Optionally, add the Cases block to your flows. This block enables you to get, update, or create cases automatically.
-
Optionally, set up case event streams to get near real-time updates when cases are created or modified.
-
Optionally, set up a Amazon Q in Connect domain and Configure your flow to generate AI-powered Case Summaries in the agent workspace
