Update settings for your Amazon Connect instance
To update the instance settings:
-
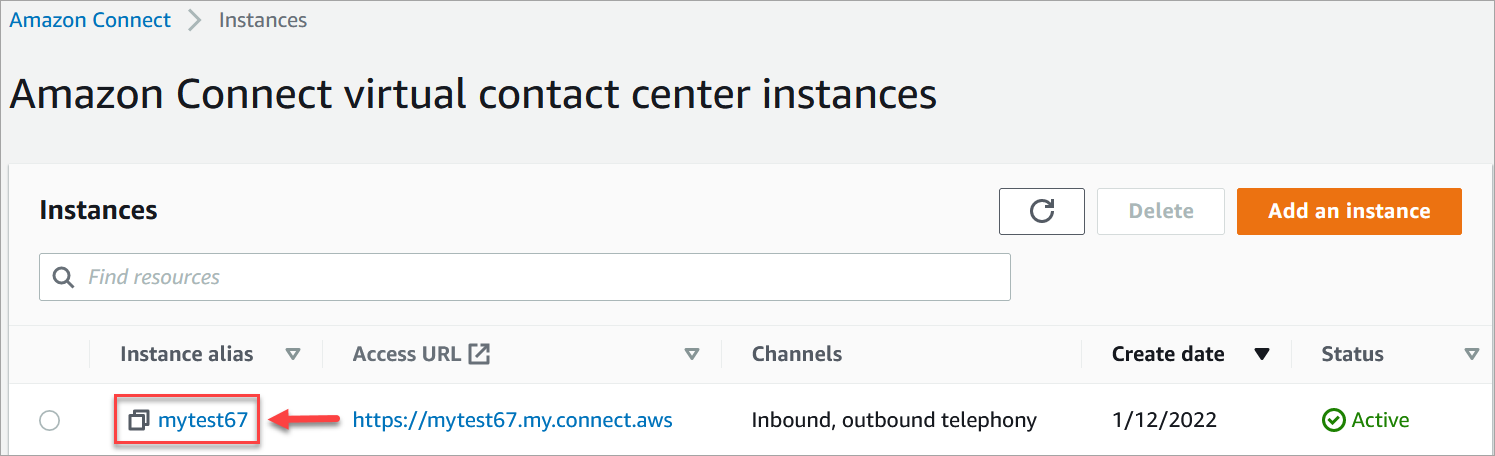
Open the Amazon Connect console at https://console.aws.amazon.com/connect/
. On the instances page, choose the instance alias. The instance alias is also your instance name, which appears in your Amazon Connect URL. The following image shows the Amazon Connect virtual contact center instances page, with a box around the instance alias.
-
Complete the following procedures.
Update telephony and chat options
-
In the navigation pane, choose Telephony. This opens the Telephony and chat options page.
-
To enable customers to call into your contact center, choose Receive inbound calls with Amazon Connect.
-
To enable outbound calling from your contact center, choose Make outbound calls with Amazon Connect.
-
To enable outbound campaigns, choose Enable outbound campaigns.
-
By enabling early media audio, your agents can hear pre-connection audio such as busy signals, failure-to-connect errors, or other informational messages from telephony providers, when making outbound calls. Choose Enable early media.
Note
The early media feature is not supported for transfers that are dialed through the Transfer to phone number block in flows.
-
By default, you can have three participants on a voice call (for example, two agents and a customer, or an agent, a customer, and an external party). You enable this default three-party capability by adding and configuring a Set recording and analytics behavior block to your flow.
However, instead of adding the block, you can choose the following options to allow more participants on a voice or chat contact, provide your agents with an enhanced conferencing experience, and allow supervisors to barge in:
-
Enable Multi-Party Calls and Enhanced Monitoring for Voice. Choose this option to enable the barge capabilities. This feature is only available in CCPv2. For more information about this capability, see Enable enhanced multi-party contact monitoring.
-
Enable Multi-Party Chats and Enhanced Monitoring for Chat. Choose this option to enable up to six participants on chats, and to barge chats.
For a comparison of how the agents' experience differs between the default three-party and the enhanced multi-party capabilities, see Comparison of multi-party and three-party functionality.
Important
If you enabled chat barge-in before the release of multi-party chats in December 2024, you need to toggle this setting off and then on to enable multi-party chats.
For more information, see Barge into live voice and chat conversations between contact center agents and customers.
-
-
Choose Save.
Update data storage
-
In the navigation pane, choose Data storage. Choose the following:
-
Call recordings: Choose Edit, specify the bucket and KMS key for recordings of voice conversations, and then choose Save.
When this bucket is created, call recording is enabled at the instance level. The next step for setting up this functionality is to set up recording behavior in a flow.
-
Chat transcripts: Choose Edit, specify the bucket and KMS key for recordings (transcripts) of chat conversations, and then choose Save.
When this bucket is created, chat transcripts are enabled at the instance level. Now all chat transcripts will be stored here.
-
Live media streaming: Choose Edit to enable live media streaming, choose Edit. For more information, see Set up live media streaming of customer audio in Amazon Connect.
-
Exported reports: Choose Edit, specify the bucket and KMS key for exported reports, and then choose Save.
-
Attachments: Choose Edit, then Enable Attachments sharing to enable file sharing for both agents and customers. For more information about this option and additional steps, see Enable attachments in your CCP so customers and agents can share and upload files.
Important
If you choose Enable Attachments sharing for your instance, you must configure a CORS policy on your attachments bucket. If you don't do this, the email channel will not work for your instance. For instructions, see Step 5: Configure a CORS policy on your attachments bucket.
-
Contact evaluations: Choose Edit, specify the bucket and KMS key for performance evaluations, and then choose Save.
When this bucket is created, evaluations are enabled at the instance level. The next step for setting up this feature is to create an evaluation form.
-
Screen recordings: Choose Edit, specify the bucket and KMS key for recordings of agent screens, and then choose Save.
When this bucket is created, screen recording is enabled at the instance level. The next step for setting up this functionality is to download and install the agent app, and then enable screen recording in the Set recording and analytics behavior block. For more information, see Enable screen recording for your Amazon Connect instance.
-
Email messages: Choose Edit, specify the bucket and KMS key for email messages, and then choose Save.
When this bucket is created, the email channel is enabled at the instance level.
Important
If you choose Enable Attachments sharing for your instance, you must configure a CORS policy on your attachments bucket. If you don't do this, the email channel will not work for your instance. For instructions, see Step 5: Configure a CORS policy on your attachments bucket.
-
Update data streaming options
-
In the navigation pane, choose Data streaming.
-
Choose Enable data streaming. For more information, see Enable data streaming for your Amazon Connect instance.
-
For Contact records, do one of the following:
-
Choose Kinesis Firehose and select an existing delivery stream, or choose Create a new Kinesis Firehose to open the Kinesis Firehose console and create the delivery stream.
-
Choose Kinesis Stream and select an existing stream, or choose Create a new Kinesis Firehose to open the Kinesis console and create the stream.
-
-
For Agent Events, select an existing Kinesis stream or choose Create a new Kinesis Stream to open the Kinesis console and create the stream.
-
Choose Save.
Update analytics tools options
-
In the navigation pane, choose Analytics tools.
-
Choose Enable Contact Lens. For more information, see Analyze conversations using conversational analytics in Amazon Connect Contact Lens.
-
Choose Save.
Update flow settings
-
In the navigation pane, choose Flows.
-
(Optional) To add a signing key for use in flows, choose Add key. For more information, see Encrypt sensitive customer input in Amazon Connect.
-
(Optional) To integrate with Amazon Lex, select a Lex bot. For more information, see Create conversational AI bots in Amazon Connect.
-
(Optional) To integrate with AWS Lambda, select a Lambda function. For more information, see Grant Amazon Connect access to your AWS Lambda functions.
-
(Optional) To enable flow logs, choose Enable flow logs. For more information, see Use flow logs to track events in Amazon Connect flows.
-
(Optional) To use the best available voice from Amazon Polly, choose Use the best available voice. For more information, see Amazon Polly best sounding voice.
-
(Optional) Use the voices available in Amazon Polly.
-
(Optional) To enables logs of automated interactions using IVR and Lex bot transcripts and analytics as a part of your Contact details page and Connect analytics dashboards, you need to select Enable Bot Analytics and Transcripts in Amazon Connect.
