Enabling AWS WAF for an Amplify application in the AWS Management Console
You can enable AWS WAF protections for an Amplify app either in the Amplify console or in the AWS WAF console.
-
Amplify console — You can enable the Firewall capabilities for an existing Amplify app by associating an AWS WAF web ACL to your app in the Amplify console. Use one-click protection to create a web ACL with pre-configured rules that we consider as best practice for most apps. You have the option to customize access by IP address and country. The instructions in this section describe setting up one-click protections.
-
AWS WAF console— Use a preconfigured web ACL that you create in the AWS WAF console or by using the AWS WAF APIs. You must create web ACLs that you want to associate with an Amplify app in the Global (CloudFront) Region. Regional web ACLs might already exist in your AWS account, but they are not compatible with Amplify. For getting started instructions, see Setting up AWS WAF and its components in the AWS WAF Developer Guide.
Use the following procedure to enable AWS WAF for an existing app in the Amplify console.
Enable AWS WAF for an existing Amplify app
-
Sign in to the AWS Management Console and open the Amplify console at https://console.aws.amazon.com/amplify/
. -
On the All apps page, choose the name of the deployed app to enable the Firewall feature on.
-
In the navigation pane, choose Hosting, and then choose Firewall.
The following screenshot shows how to navigate to the Add firewall page in the Amplify console.

-
On the Add firewall page, your actions will depend on whether you want to create a new AWS WAF configuration or use an existing one.
-
Create a new AWS WAF configuration.
-
Choose Create new.
-
Optionally, enable any of the following configurations:
-
Turn on Enable Amplify-recommended Firewall protection.
-
Turn on Restrict access to amplifyapp.com to prevent access to your app on the default Amplify domain.
-
For IP addresses, turn on Enable IP address protections.
-
For Action, choose Allow if you want to specify the IP addresses that will have access and all others will be blocked. Choose Block if you want to specify the IP addresses that will be blocked and all others will have access.
-
For IP version, select either IPV4 or IPV6.
-
In the IP addresses text box, enter either your allowed or blocked IP addresses, one per line, in CIDR format.
-
-
For Countries, turn on Enable country protection.
-
For Action, choose Allow if you want to specify the countries that will have access and all others will be blocked. Choose Block if you want to specify the countries that will be blocked and all others will have access.
-
For Countries, select either your allowed or blocked countries from the list.
-
-
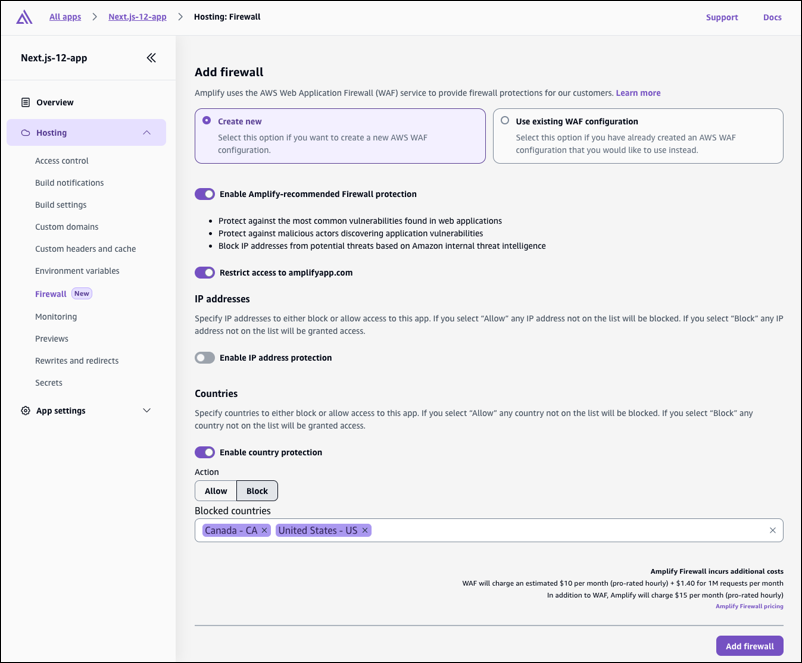
The following screenshot demonstrates how to enable a new AWS WAF configuration for an app.
-
-
Use an existing AWS WAF configuration.
-
Choose Use existing AWS WAF configuration.
-
Select a saved configuration from the list of web ACLs in AWS WAF in your AWS account. The web ACL that you associate with your Amplify app must be created in the Global (CloudFront) Region. Regional web ACLs might already exist in your AWS account, but they are not compatible with Amplify.
-
-
-
Choose Add firewall.
-
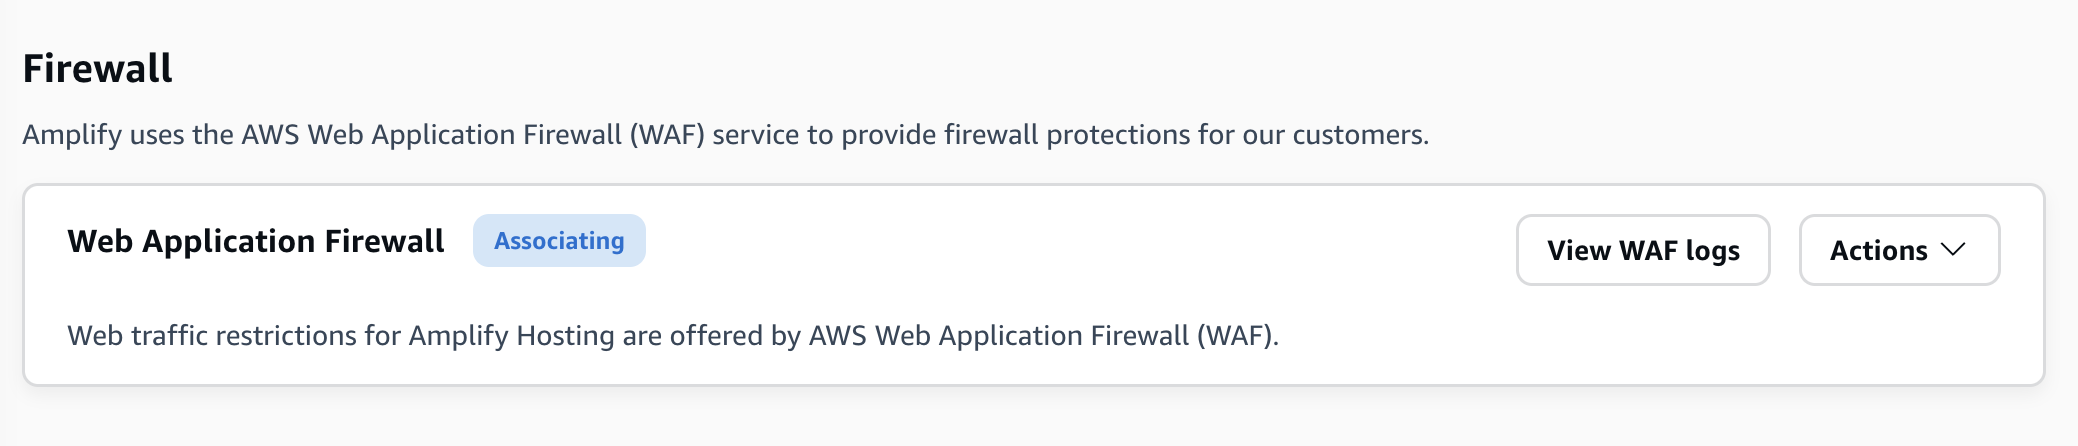
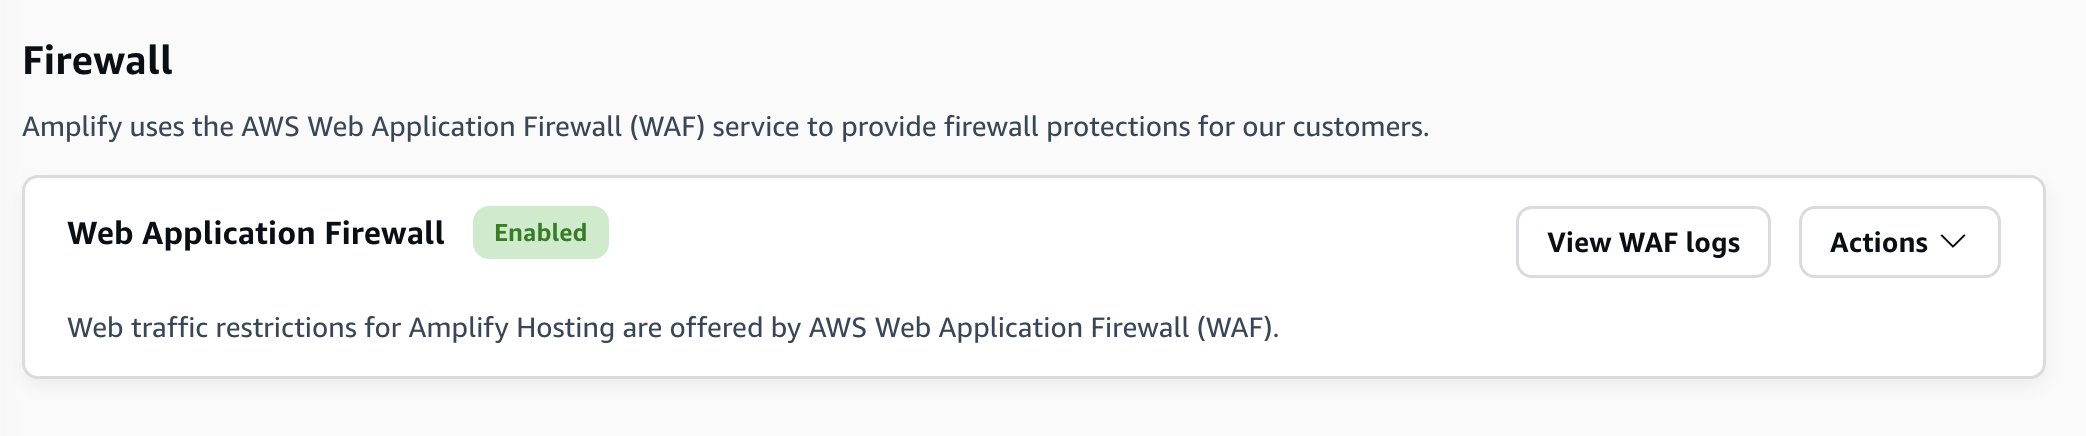
On the Firewall page, the Associating status is displayed to indicate that the AWS WAF settings are being propagated. When the process is complete, the status changes to Enabled.
The following screenshots show the firewall progress status in the Amplify console, indicating when the AWS WAF configuration is Associating and Enabled.