翻訳は機械翻訳により提供されています。提供された翻訳内容と英語版の間で齟齬、不一致または矛盾がある場合、英語版が優先します。
チュートリアル: 準備完了済みの Amazon QuickSight データセットを作成する
以下の手順に従って、Marketing データセットを準備し、分析を作成します。[Web and Social Media Analytics (ウェブとソーシャルメディアの分析)] のサンプルデータが Amazon QuickSight で表示されない場合は、web-and-social-analytics.csv.zip からダウンロードできます。
Marketing データセットを準備して分析を作成する
-
Amazon QuickSight 開始ページで、左側にある [Datasets (データセット)] を選択します。

-
[Datasets (データセット)] のページで、[New dataset (新しいデータセット)] を選択します。

-
[Create a Data Set (データセットの作成)] ページの [FROM NEW DATA SOURCES (新しいデータソースから)] セクションで、[Web and Social Media Analytics (ウェブとソーシャルメディアの分析)] の Amazon S3 データソースを選択してから、[Edit dataset (データセットの編集)] を選択します。
Amazon QuickSight でデータ準備ページが開きます。
-
[Dataset Name (データセット名)] で、データセット名に [Web and Social Media Analytics (ウェブとソーシャルメディアの分析)] の代わりに
Marketing Sampleと入力します。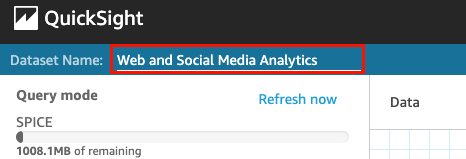
-
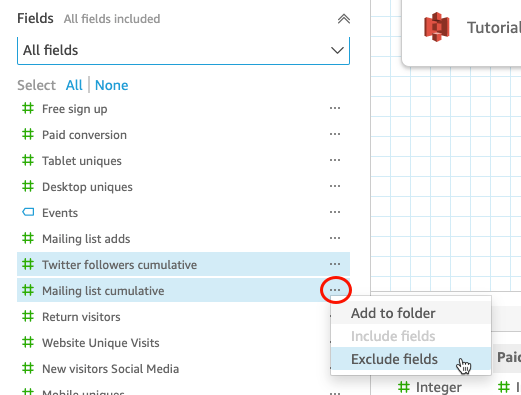
データセットからいくつかのフィールドを除外します。
[Fields] (フィールド) ペインで、[Twitter followers cumulative] (Twitter フォロワーの累積) と [Mailing list cumulative] (メーリングリストの累積) フィールドのフィールドメニューを選択し、[Exclude field] (フィールドを除外) を選択します。一度に複数のフィールドを選択するには、Ctrl キー (Mac の場合はコマンドキー) を押しながら選択します。
-
フィールド名を変更します。
[Dataset (データセット)] のプレビューペインで、[Website Pageviews (ウェブサイトのプレビュー)] フィールドまでスクロールし、編集アイコンをクリックします。
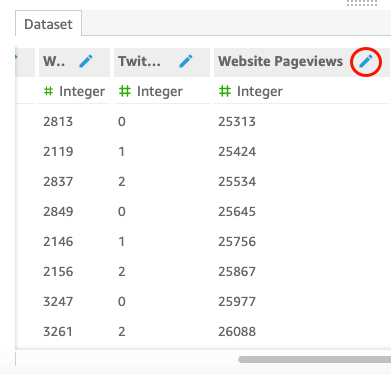
開いた [Edit field (フィールドの編集)] ページで、[Name (名前)] に
Website page viewsと入力し、[Apply (適用)] をクリックします。 -
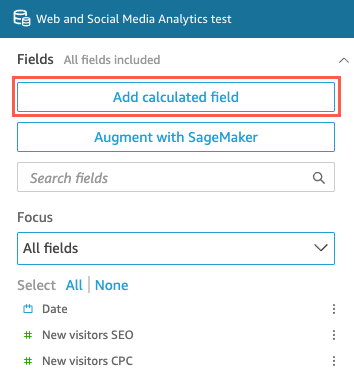
[Events] (イベント) フィールドで、長さ 0 の文字列値の代わりにテキスト文字列を代入する計算フィールドを追加します。
-
データ準備ページで、[Fields (フィールド)] ペインの上部までスクロールし、[Add calculated field (計算フィールドを追加)] を選択します。
-
開いた [Add calculated field (計算フィールドを追加)] ページで、[Add name (名前の追加)] に
populated_eventと入力します。 -
右側の [Functions (関数)] ペインで、関数のリストから ifelse 関数をダブルクリックします。これにより、計算フィールド式に関数が追加されます。

-
ドロップダウン矢印をクリックして [Field list] (フィールドリスト) ペインを展開し、[Events] (イベント) フィールドをダブルクリックします。これにより、計算フィールド式にフィールドが追加されます。

-
数式エディタで、必要な追加の関数とパラメータ (iifelse(strlen({Events})=0, 'Unknown', {Events}) の太字部分) を入力します。
最終的な計算式は以下のとおり
ifelse(strlen({Events})=0, 'Unknown', {Events})となります。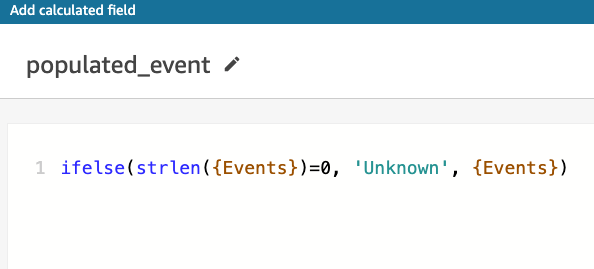
-
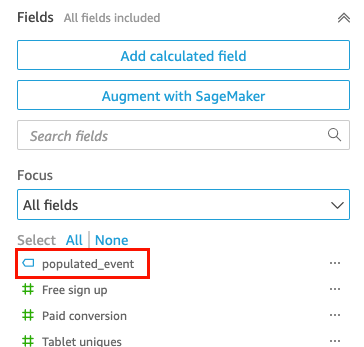
[Save (保存)] をクリックします。
新しい計算フィールドが作成され、[Fields (フィールド)] ペインの上部に表示されます
-
-
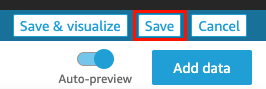
[Save (保存)] をクリックします。
次のステップ
「チュートリアル: Amazon QuickSight 分析を作成する」の手順を使用して分析を作成します。
