Getting started with Amazon QuickSight Q
| Applies to: Enterprise Edition |
| Intended audience: Amazon QuickSight administrators and authors |
Important
The QuickSightQ search bar provides the classic QuickSight Q&A experience. QuickSight now offers a Generative BI Q&A experience. To learn more about the latest Generative BI experience, see Using Generative BI with Amazon Q in QuickSight.
To get started using Amazon QuickSight Q, first get the Q add-on for your QuickSight account and specify the AWS Regions that you want the subscription to be available for. Pricing for the add-on applies to your entire QuickSight account and isn't specific to a Region. After you subscribe to Q, QuickSight authors can create topics, ask questions, and share topics with QuickSight readers. QuickSight readers can also ask questions using the Q bar.
To help you create effective topics and practice asking Q questions about your data, QuickSight offers a step-by-step setup and getting started video. You can also find an interactive walkthrough that shows you how to ask questions about a topic using the Q bar, create topics, and optimize topics for natural language.
To learn more about QuickSight Q, watch the following videos:
Topics
Step 1: Get the Q add-on
Important
The QuickSight Q add-on is no longer available in Amazon QuickSight. To learn more about the latest Generative BI experience, see Using Generative BI with Amazon Q in QuickSight.
Step 2: Create a sample Q topic
We strongly recommend that you create a sample topic to start learning to use Q after setup is complete. The sample topics include sample datasets and corresponding topic configurations to answer questions about the data. When a sample topic is ready, Q walks you through how to ask questions using the Q bar and how to create and configure topics.
To create a sample topic
-
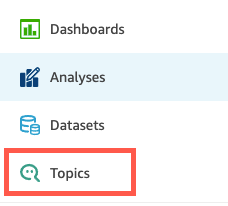
On any page in QuickSight, choose Topics at left.
-
On the Topics page, choose New Sample Topic.
-
In the Select sample topic page that opens, choose a sample topic to create, and then choose Create sample topic. In this example, the Software Sales sample topic is used.
The topic creation process begins. This might take several minutes. While you wait, we recommend watching the getting started video. It contains the most important steps authors need to do to create a successful topic.
Step 3: Explore the sample topic
When the sample topic is ready, you can follow a step-by-step walkthrough to familiarize yourself with the topic workspace and to learn best practices for creating successful topics. Use the following procedure to learn how.
You can find the sample topic on the Topics page. This page includes a list of all your topics. Each listing includes the topic name, refresh history, number of questions asked using it, and feedback data. Because this is your first time using Q, only the sample topic is listed.

To explore the sample topic
-
On the Topics page, choose the sample topic. In this example, the Software Sales sample topic is used.
The topic opens to the topic Summary page. Here you can see how your readers engage with your topic and what feedback and ratings they give on the answers provided. Here you can also see a list of the datasets used to create the topic.
-
Choose the Data tab.
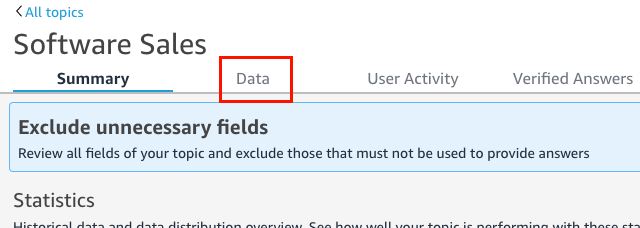
The Data tab lists all the fields in your topic. Here you can configure your metadata to make your topic more natural-language-friendly and to improve your topic performance.
The step-by-step walkthrough points out the following four best practices for configuring natural-language-friendly topics. Choose Next on the walkthrough to follow along with each of the following best practices:
-
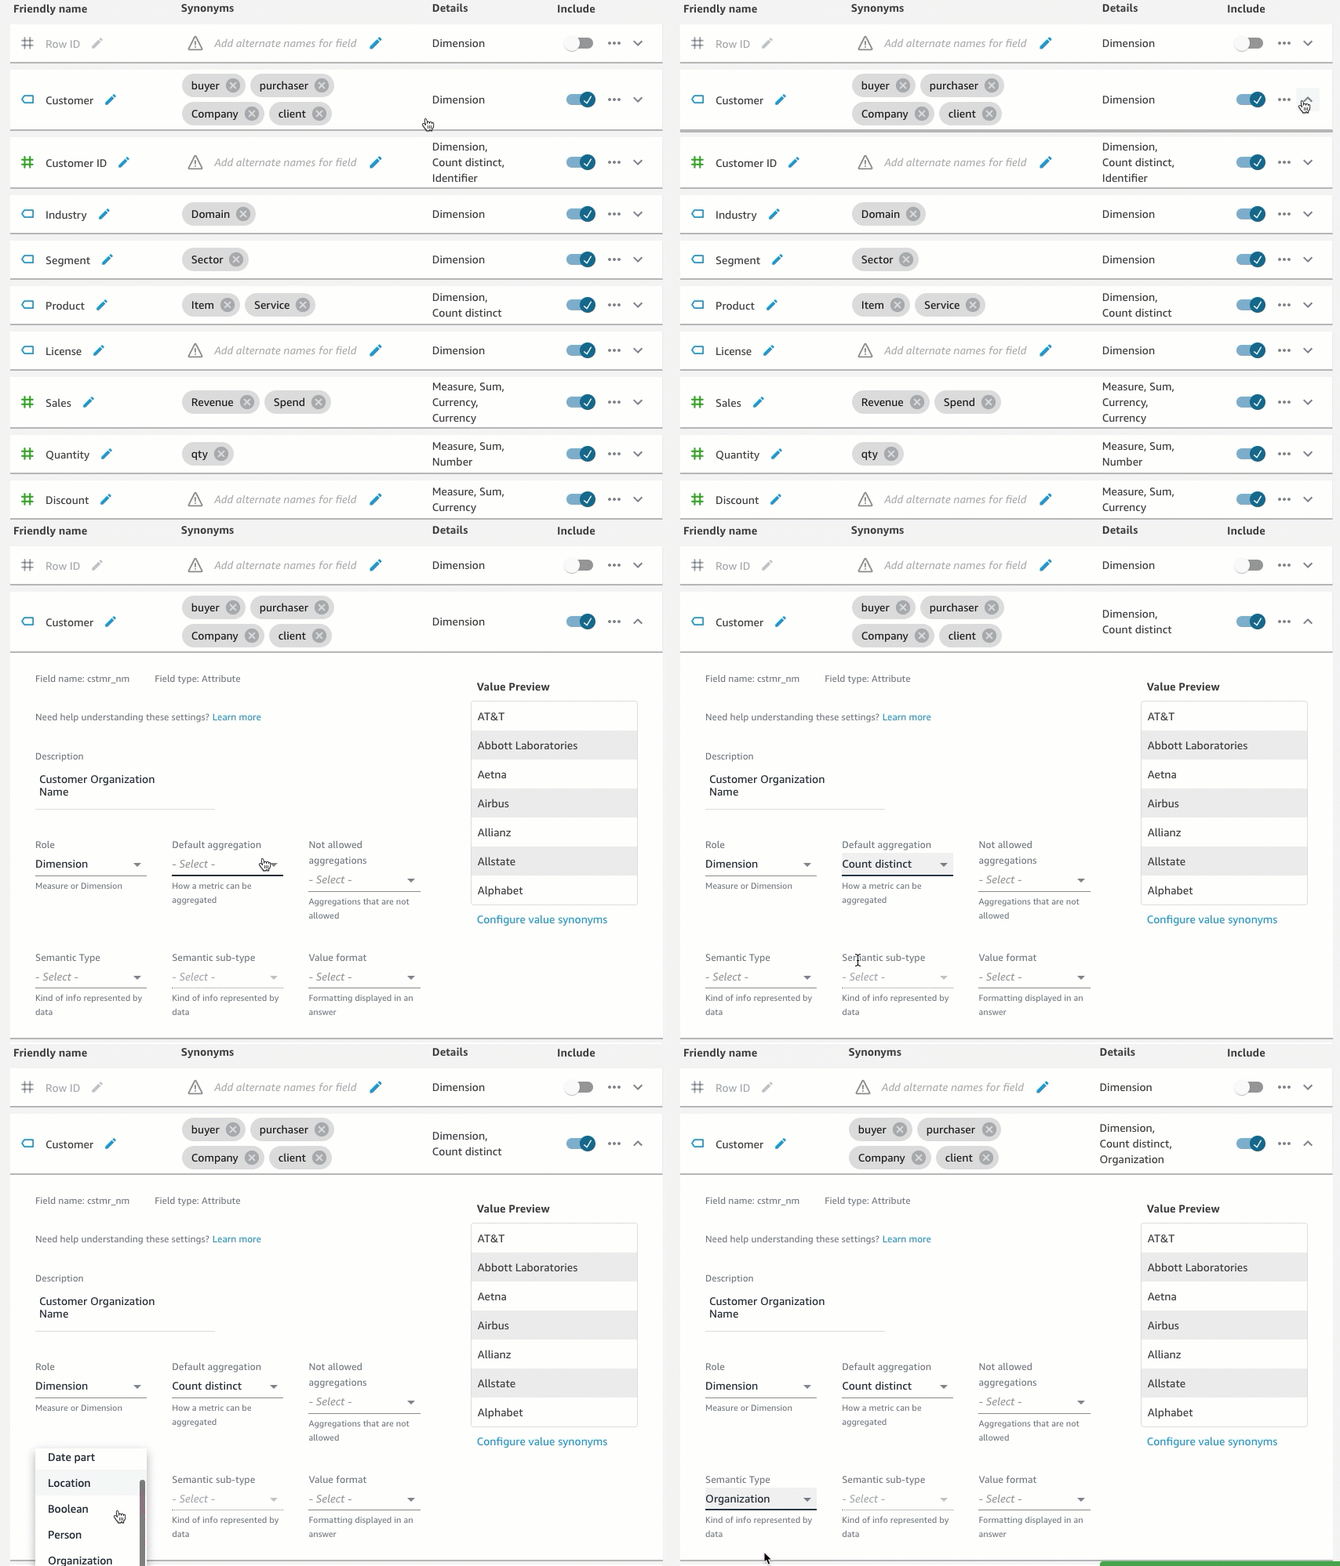
Exclude unused fields – Remove any fields that you don't want included in answers to your readers' questions. In this example, the field
Row
                                    ID
was removed. As a result, Q doesn't index theRow IDfield as a term or use any of its values (customer mailing addresses) in answers.To exclude a field, turn off Include.

-
Verify friendly field names – Rename fields to use names that your readers might use when asking a question about the topic. In this example, the author renamed the field
cstmr_nmtoCustomer.To rename a field, choose the pencil icon at the right of the field name and then enter a name for the field.

-
Add synonyms to fields – Not everyone in your organization knows the names of your fields, so it's necessary to include commonly used terms for your fields as synonyms. In this example, the author added the synonyms
buyer,purchaser,Company, andclientto theCustomerfield. That way, if a reader asks, "Show me top 10 clients", Q knows they're referring to data in theCustomerfield.To add a synonym to a field, choose the pencil icon beneath the Synonyms column for the field, enter a word or phrase, and then press Enter on your keyboard. To add another synonym, choose the + icon.

-
Review field configurations – To help Q understand your data and use it correctly to answer readers' questions, we recommend that you review and update your field details.
Here you can specify how you want Q to use the field. Should it be used as a measure or a dimension? Is it a location, person, or a date? Should it be aggregated as a sum or a count by default? Is it currency or a number? In field details, you can specify this information. In this example, the
Customerfield has been configured as aDimensionwith a default aggregation ofCount distinct. It has also been identified as anOrganization.To tell Q more about your fields, choose the field list at far right and then add your changes to the field details.
For more information about best practices and making topics natural-language-friendly, see Making Amazon QuickSight Q topics natural-language-friendly.
-
Step 4: Practice asking questions with the Q bar
Now that you've explored the sample topic and its data, practice asking questions about it using the Q bar at the top of any QuickSight page. For a list of the types of questions that you can ask Q, see Types of questions supported by Amazon QuickSight Q.
To ask questions using the Q bar
-
Select a topic.
To select a topic, choose the topic list at left of the Q bar, and then choose the topic that you want to ask about. Because the sample topic is the only topic that you have at this time, it's already selected for you.

-
Click or tap inside the Q bar and enter a question. Press Enter on your keyboard when you're finished.
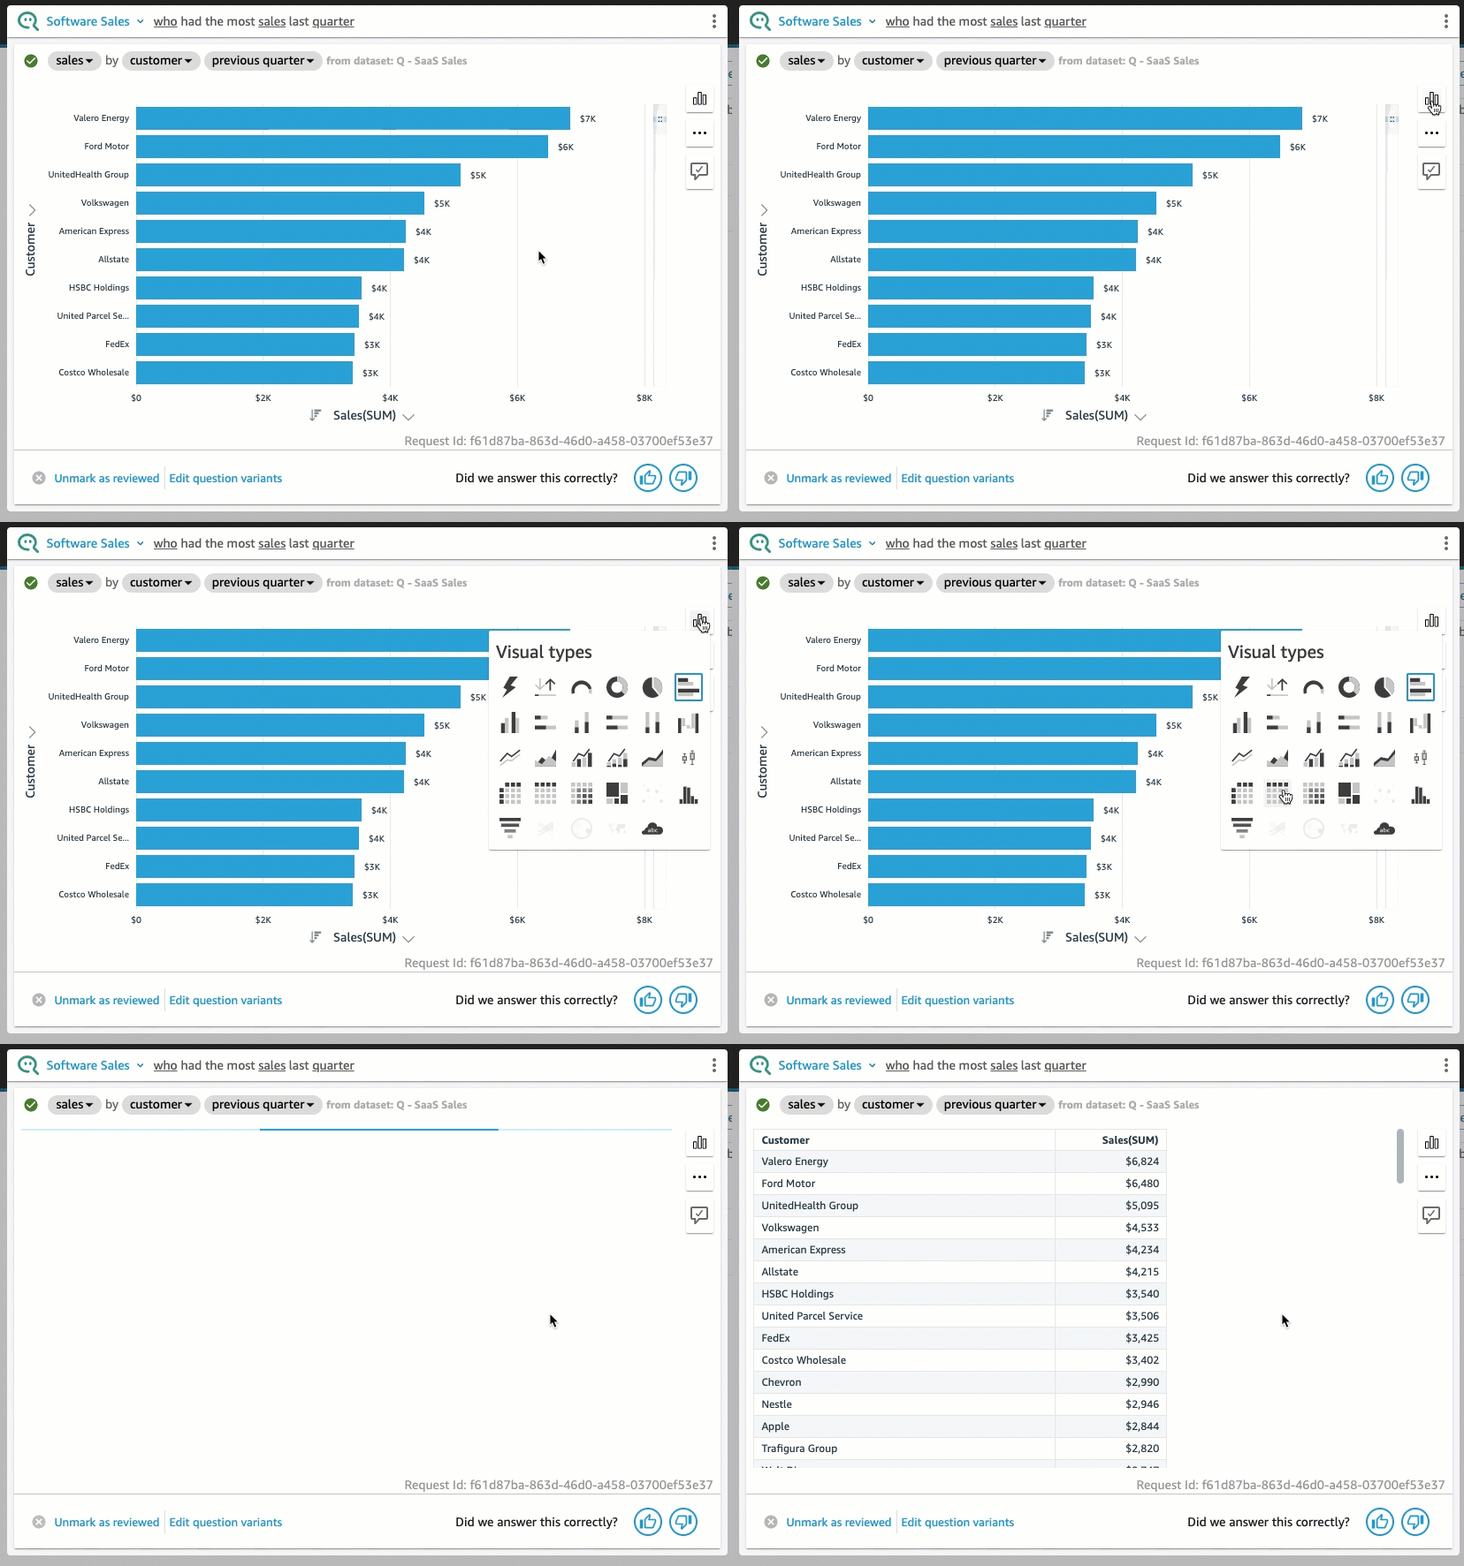
The sample topic includes several sample questions to ask Q. For example, if you enter
Who had the most sales last quarter?, Q responds with a horizontal bar chart showing sales by customer in the previous quarter.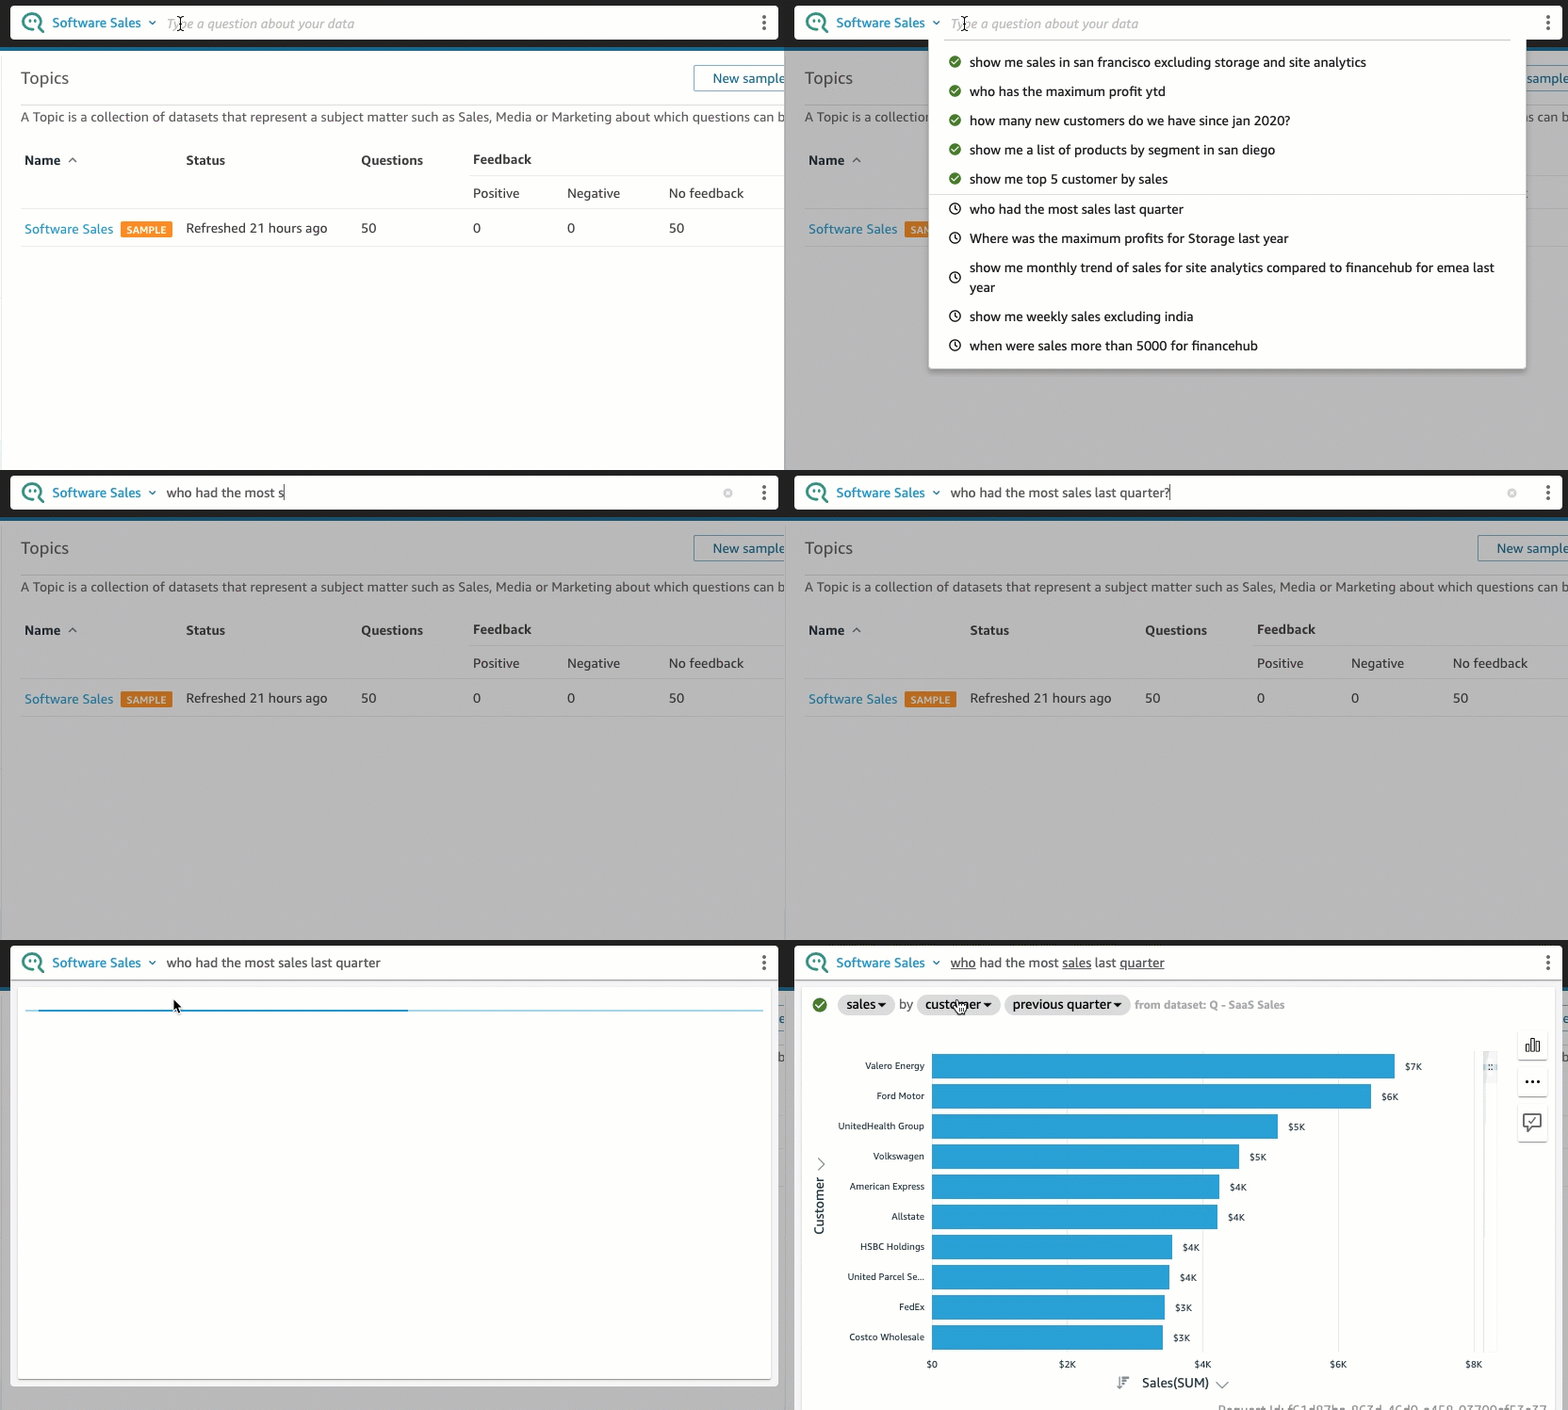
-
Review how Q interpreted your question. You can see a description of the visualization at upper left of the Q answer.

Notice how Q underlined key terms in the question also. Those are the terms Q mapped to data fields in the topic. In this example, the term
customerwas mapped towho;saleswas mapped to thesalesfield; andquarterwas mapped to theprevious quarterfield.
Q knows how to map these terms to data fields in the topic because the owner of the topic configured it to be natural-language-friendly. However, if you ask a question that Q doesn't know how to interpret, you can improve Q's accuracy by providing feedback and making corrections, as described later.
-
Change the chart type. To do this, choose the bar chart icon at the answer's upper right, and then choose the type of chart that you want.
For more information about asking questions using the Q bar, including the types of questions Q recognizes, see Asking questions with Amazon QuickSight Q.
Now that you've explored the sample topic and practiced asking questions, you're ready to start creating topics and asking questions about them. To learn how, continue to Working with Amazon QuickSight Q topics.