Creating Alerts
Use the following procedure to create threshold alerts for KPI or Gauge visuals in a dashboard.
To create an alert
-
Open QuickSight and navigate to the dashboard that you want.
For more information about viewing dashboards as a dashboard subscriber in QuickSight, see Interacting with Amazon QuickSight dashboards.
-
In the dashboard, select the visual that you want to create an alert for, open the menu at the upper-right, and choose Create alert.
-
On the menu at upper-right on the visual, choose the Create alert icon.
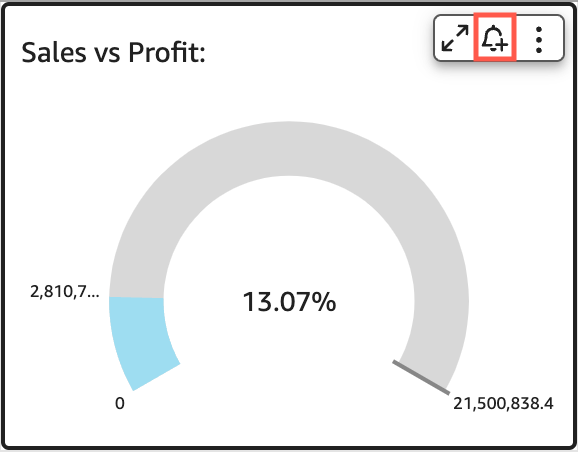
Alternatively, you can choose the alert icon in the blue toolbar at upper right. Then, in the Create alert page that opens, select the KPI, Gauge, Table or Pivot table visual that you want to create an alert for, and then choose Next.
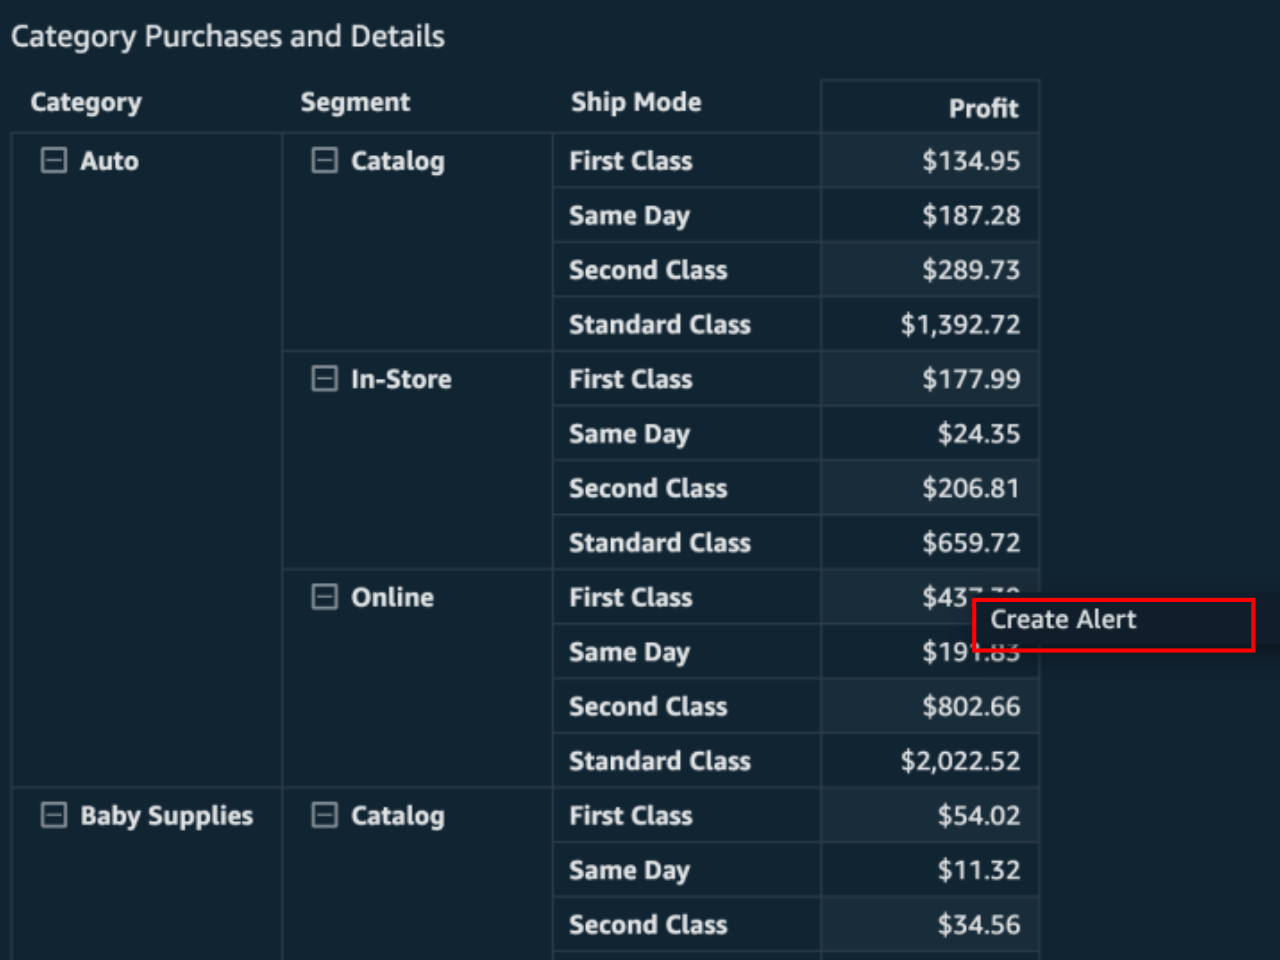
You can also create alerts on table or pivot table visuals by selecing a cell and choosing Create alert. You can only create alerts for single cells. Alerts can't be created for entire columns or for values that use a custom aggregation. For more information about custom aggregations, see Aggregate functions.
-
On the Create alert page that opens at right, do the following:
-
For Name, enter a name for the alert.
By default, the visual name is used for the alert name. You can change it if you want.
-
For Value to track, choose a value that you want to set the threshold for. The information presented will vary based on the visual type you're creating an alert for.
The values that are available for this option are based on the values the dashboard author sets in the visual. For example, let's say you have a KPI visual that shows a percent difference between two dates. Given that, you see two alert value options: percent difference and actual.
If there is only one value in the visual, you can't change this option. It is the current value and it is displayed here so that you can use it as a reference while you choose a threshold. For example, if you're setting an alert on average cost, this value will show you what the current average cost is (say, $5). With this reference value you can make more informed decisions while setting your threshold.
-
For Condition, choose a condition for the threshold.
You can choose the following conditions.
-
Is above – Sets a rule that the alert triggers if the alert value goes above the threshold you set.
-
Is below – Sets a rule that the alert triggers if the alert value goes below the threshold that you set.
-
Is equal to – Sets a rule that the alert triggers if the alert value is equal to the threshold you set.
-
-
For Threshold, enter a value to prompt the alert.
-
For Notification preference, choose how often you want to be notified about a breach to the threshold you set.
You can choose from the following options.
-
As frequently as possible - This option alerts you whenever the threshold is breached. If you choose this option, you might get alerts multiple times a day.
-
Daily at most - This option alerts you once per day when the threshold is breached.
-
Weekly at most - This option alerts you once per week when the threshold is breached.
-
-
(Optional) Choose Email me when there is no data - When you select this option, you're notified when there's no data to check your alert rule against.
-
Choose Save.
A message at upper-right appears indicating that the alert has been saved. If your data crosses the threshold you set, you get a notification by email at the address that's associated with your QuickSight account.

-
